How to assemble and commission a Simpro Multi-Tip bin lifter which has been shipped in a dismantled state.
The Multi-Tip is sometimes shipped from the factory dismantled and strapped to a pallet. One or two machines may be shipped on each pallet. Follow these instructions to safely unpack and assemble your new Multi-Tip electric bin tipper from Simpro.
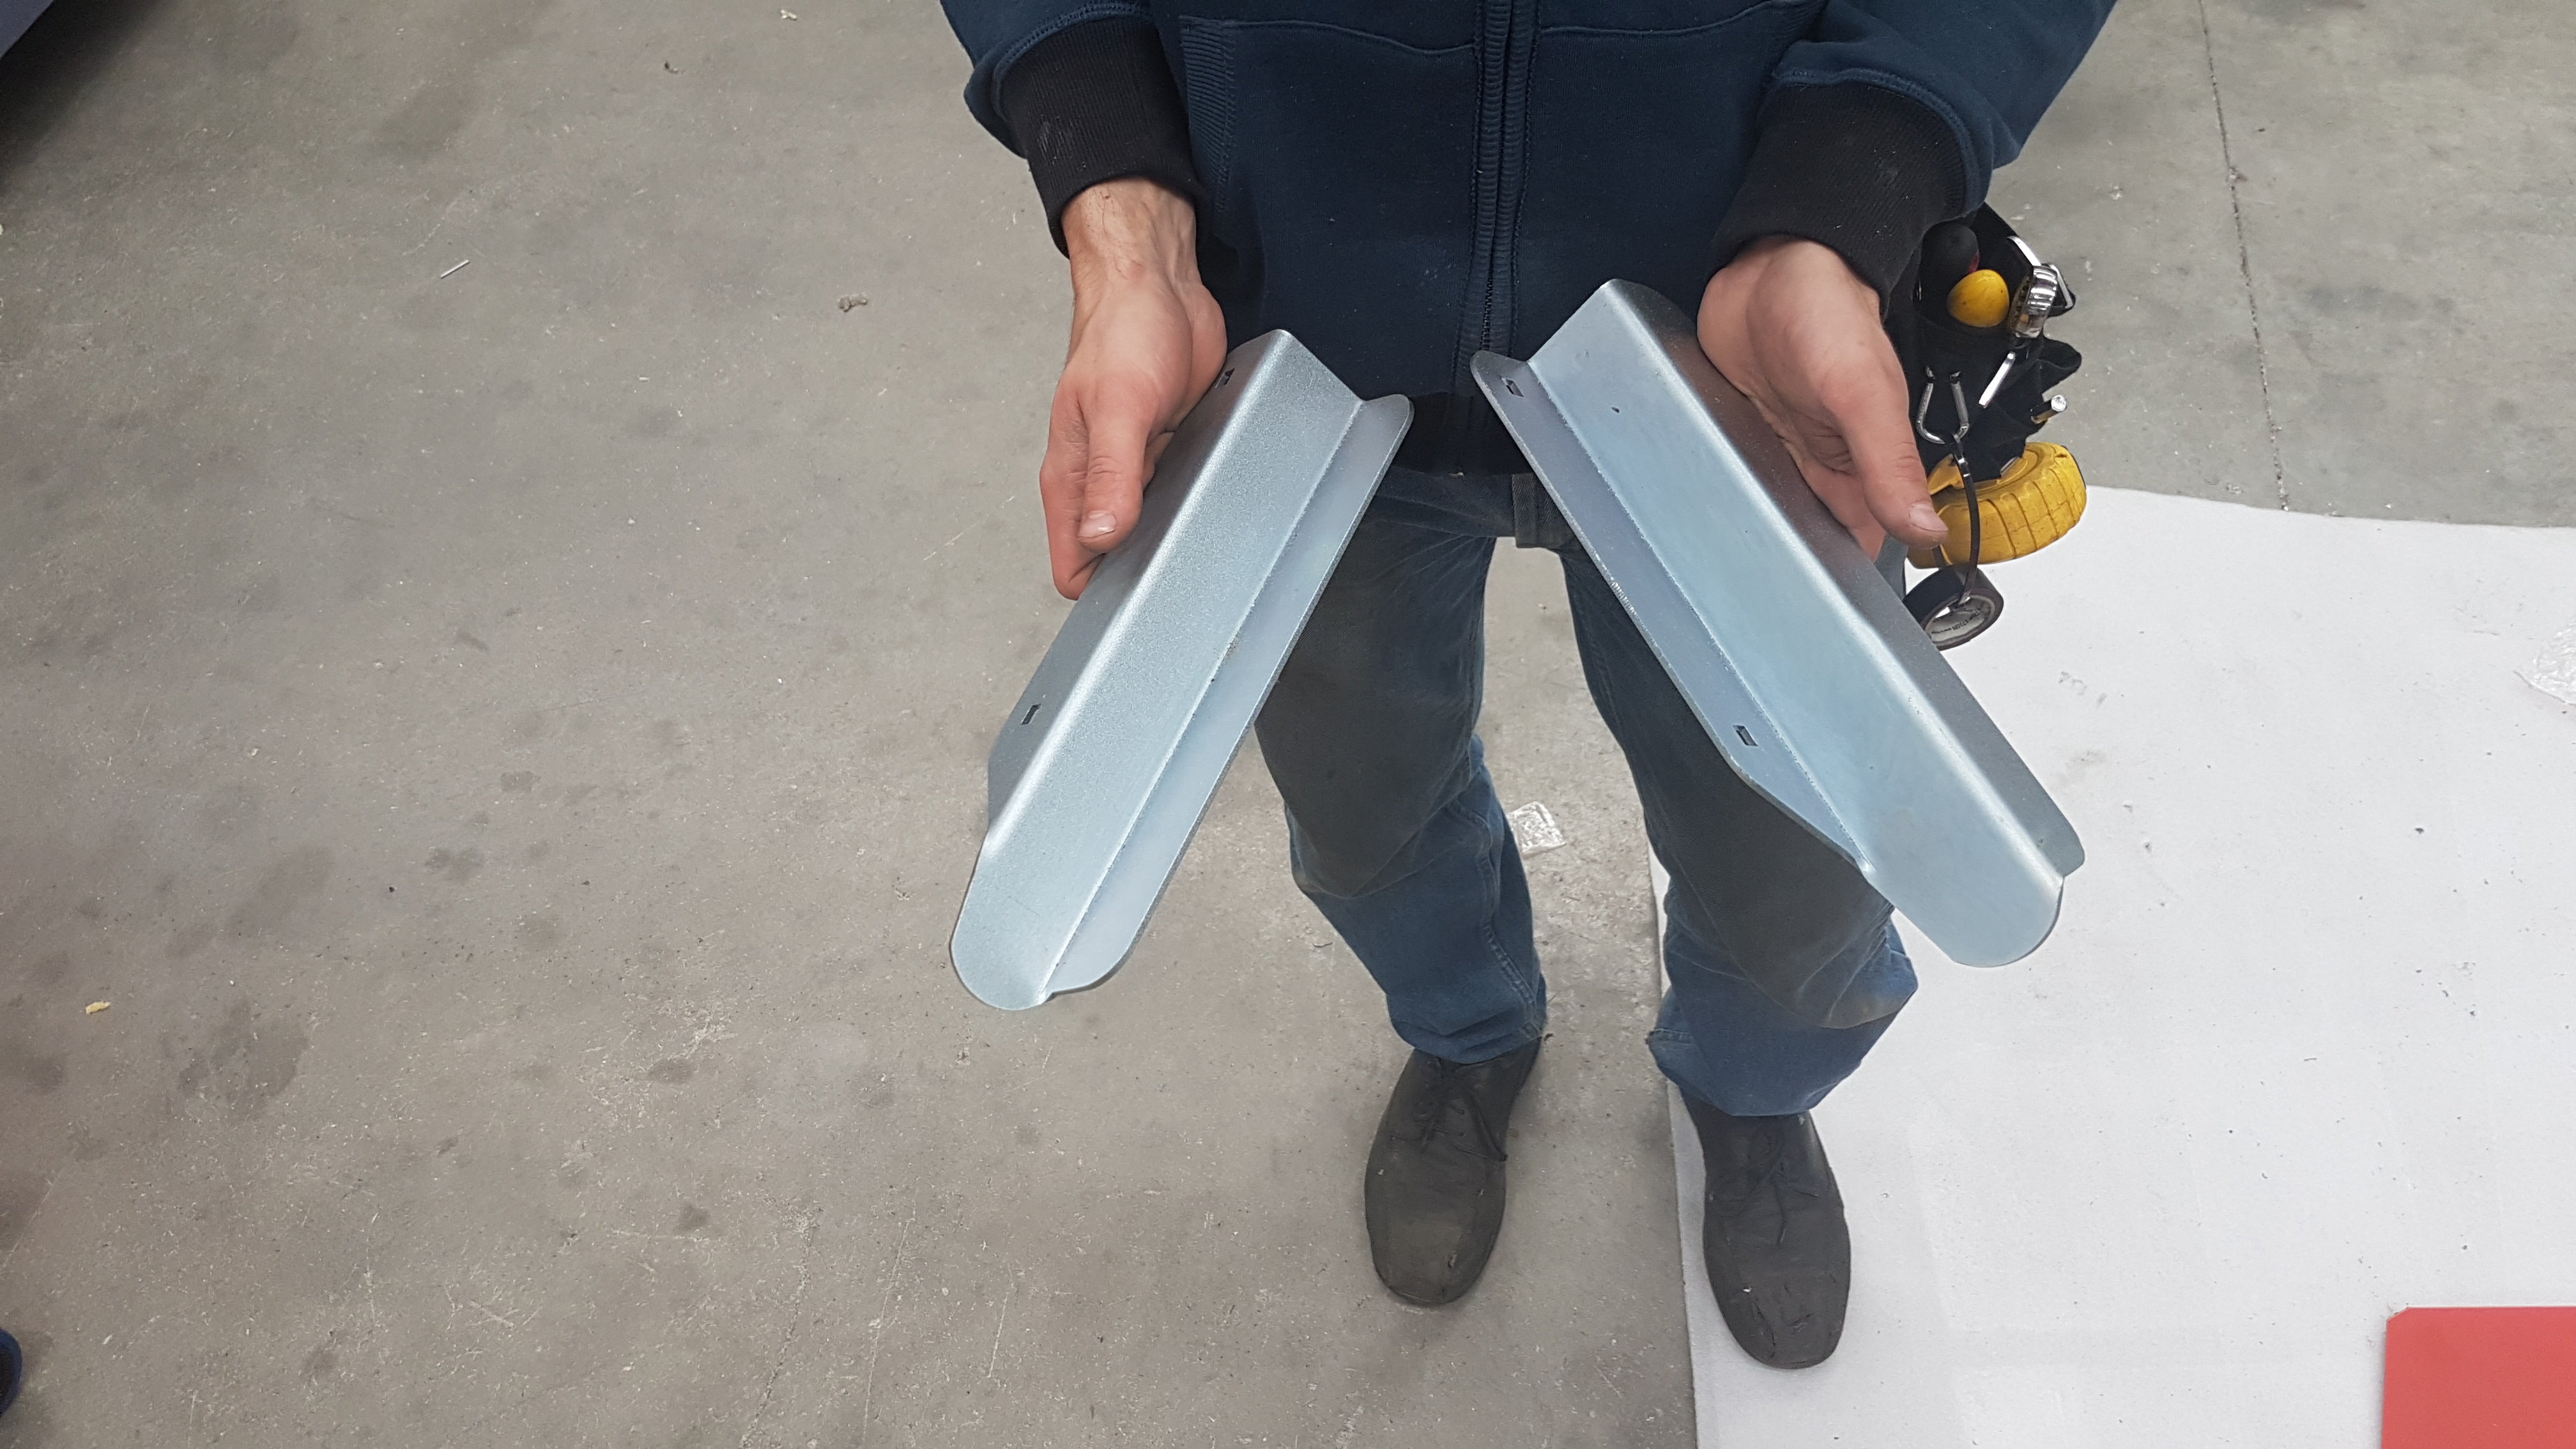
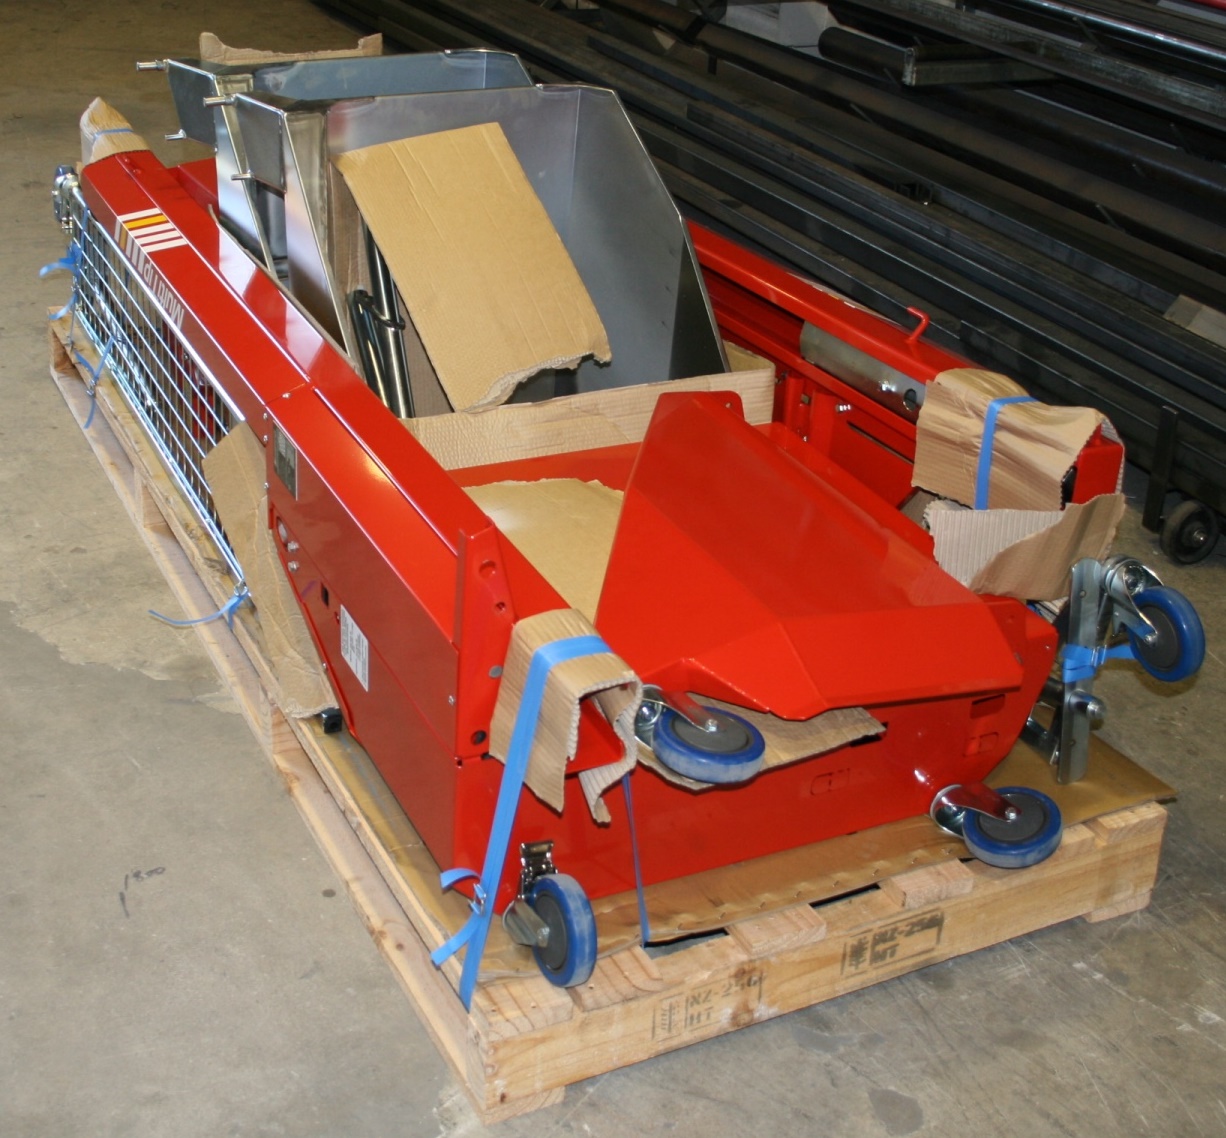 Two Multi-Tips broken down and palletised for shipping
- Remove all paperwork from the consignment and remove all strapping and packaging from the machines(s).
- Remove all parts except for the main frame(s) from the pallet and check for serial numbers. If there are two machines, separate the parts into two piles.
- You should have the following parts for each machine:
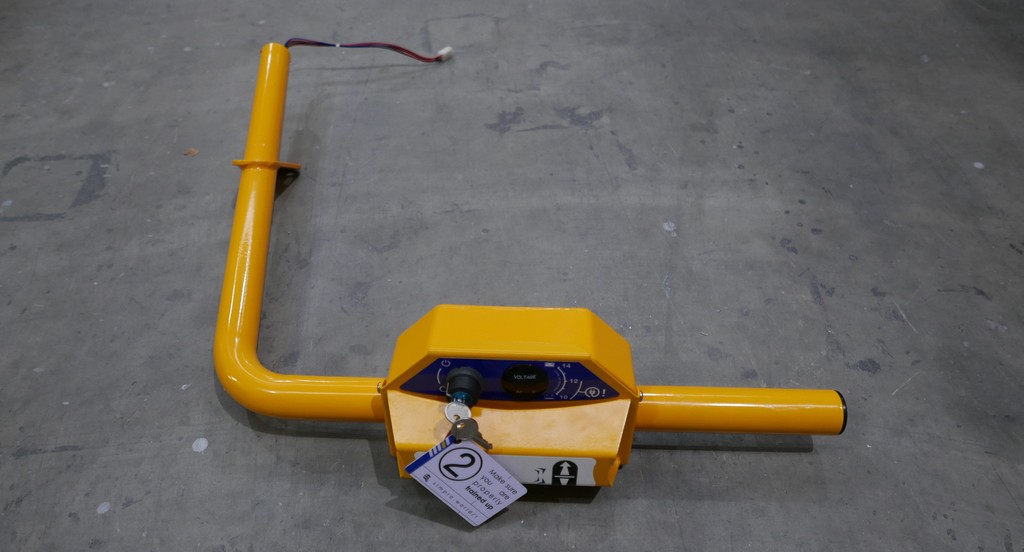
- Grab handle with controls
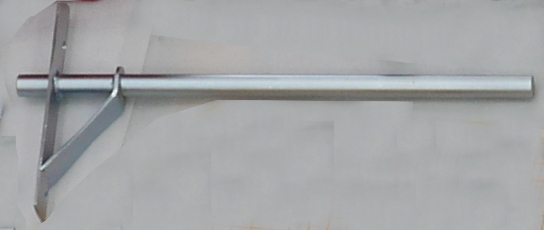
- Cradle axle
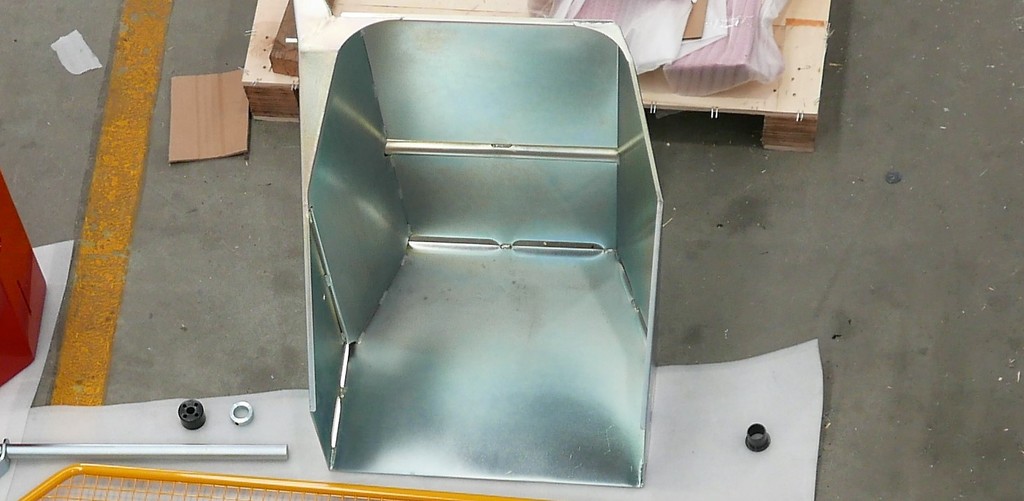
- Cradle
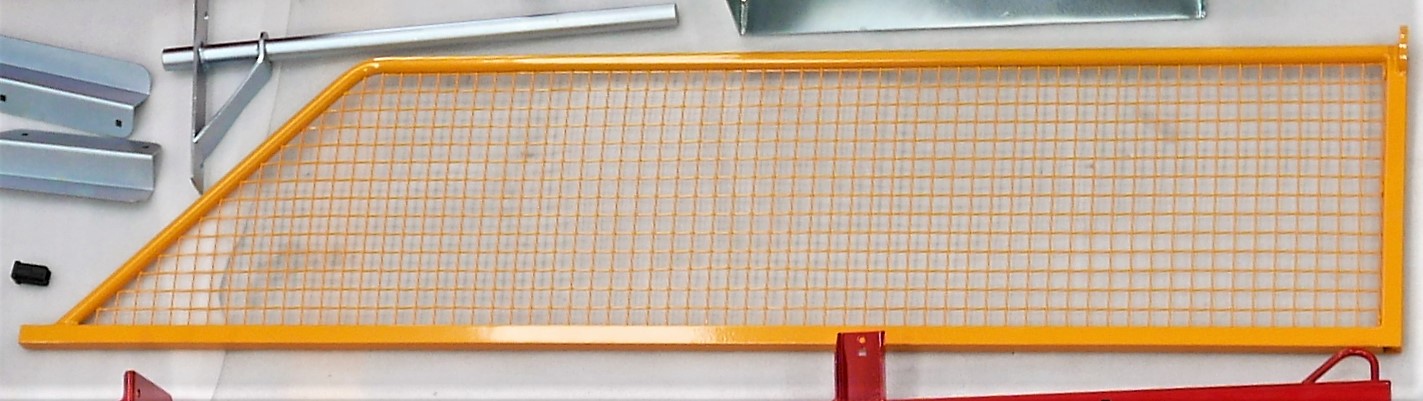
- Mesh guard panel
- Cradle 'follower roller'
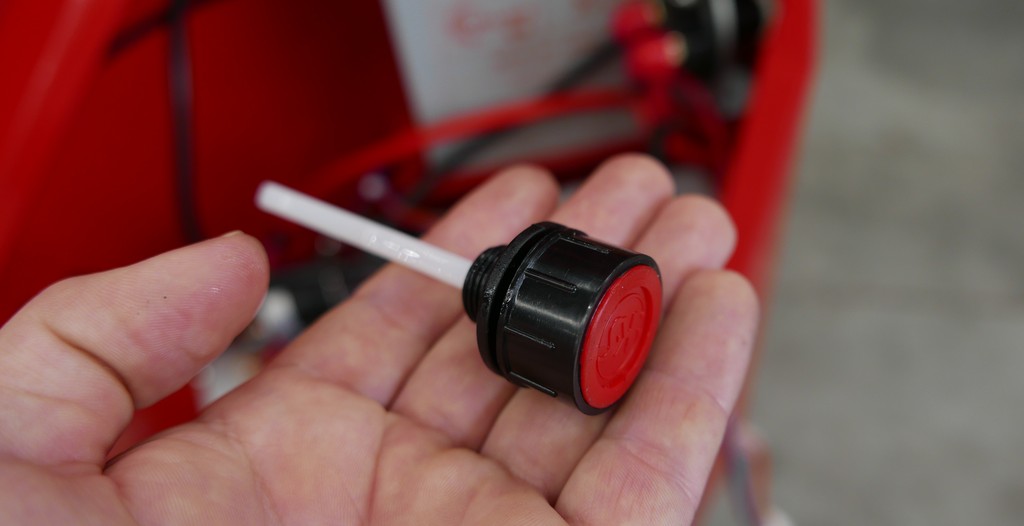
- Oil tank breather plug
 Guard cover
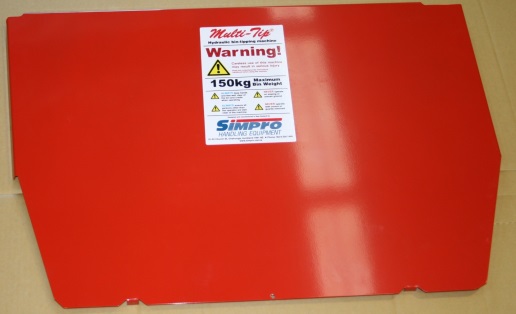 Charging cable
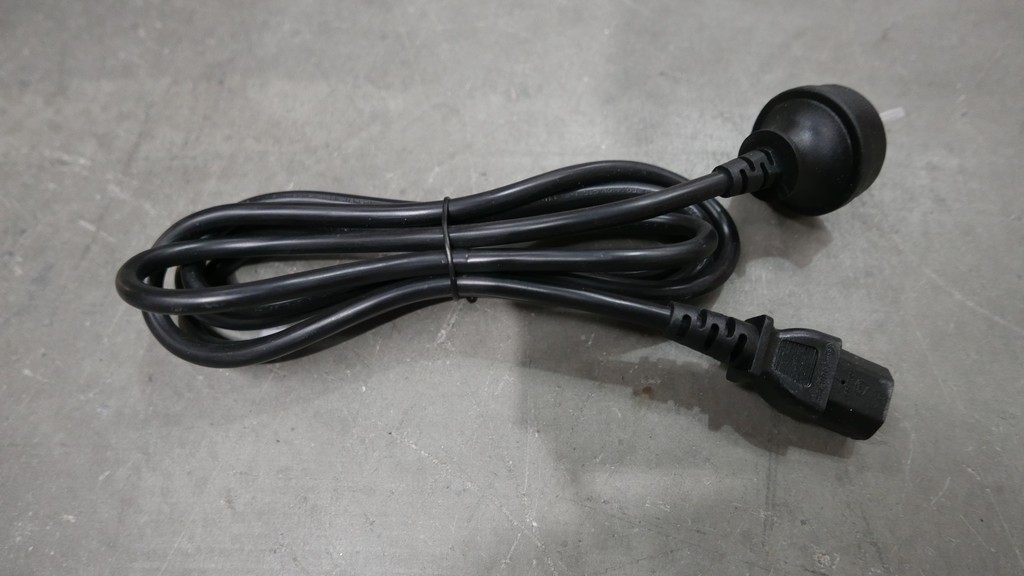
- Grab handle with controls


 Guard cover
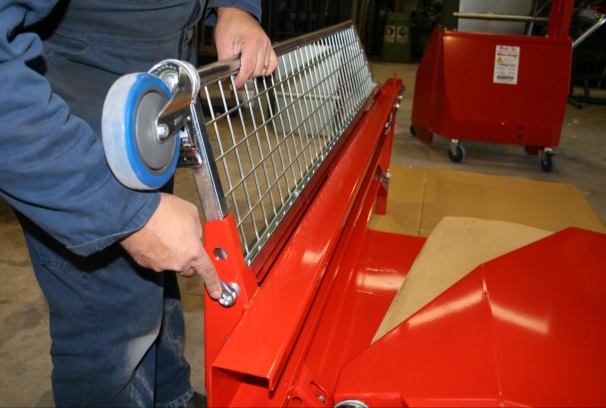
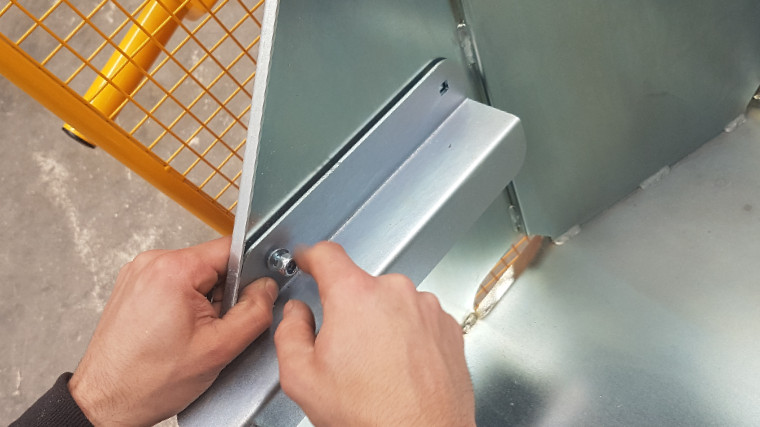
- With the main frame still lying down, fit the guard screen onto the main frame.
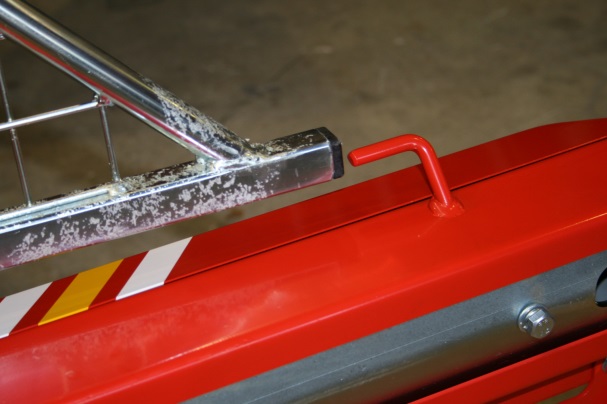 Fit the top of the screen into the small hook on the mast.
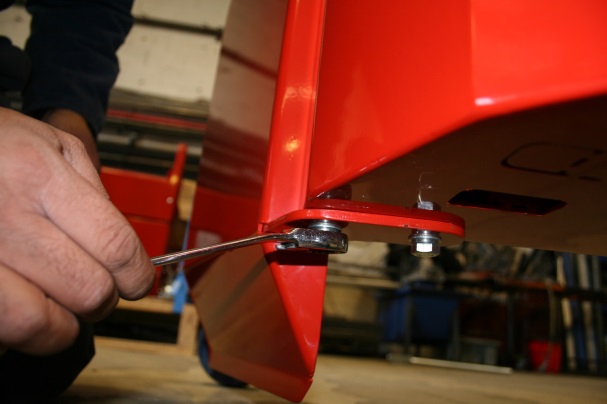
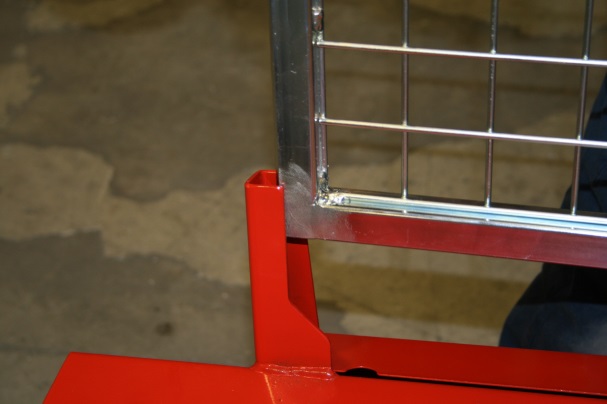 Slide the bottom of the screen into the matching bracket until the bolt hole is aligned.
 Insert one M10 bolt and fasten firmly.
- Carefully stand the frame up using a block and tackle or at least two persons.
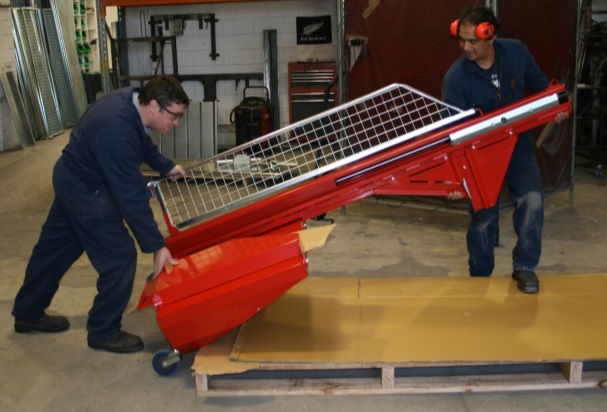 The standard frame weighs about 150kg - lift upright with caution!
- Remove the powerpack cover.
 The powerpack cover may be loosely secured in place with screws.
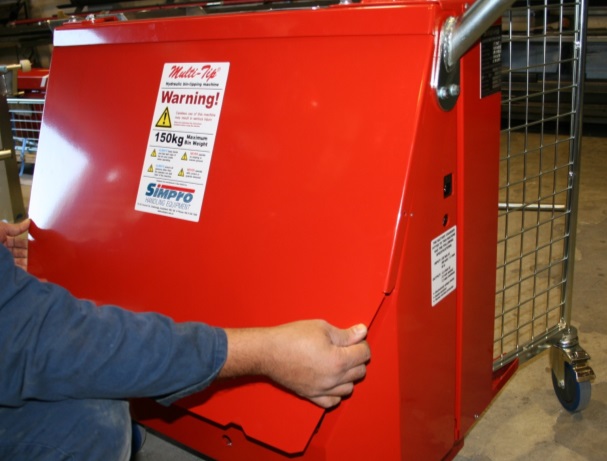
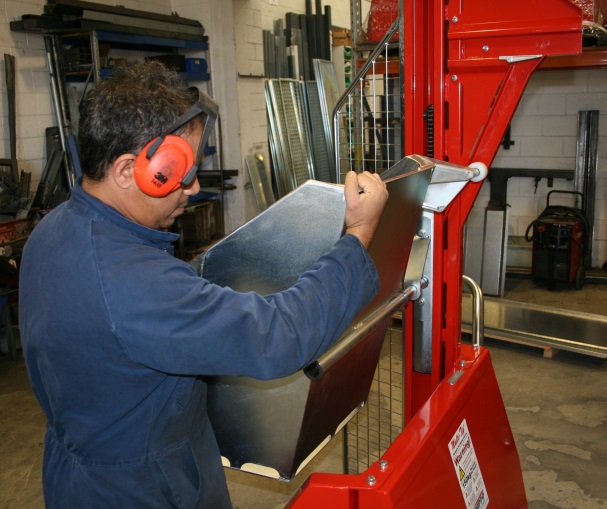
- Unfold and secure the side panel.
 The side panel is shipped folded flat against the main cover.
 Unfold the panel until the upper and lower bolt holes are aligned.
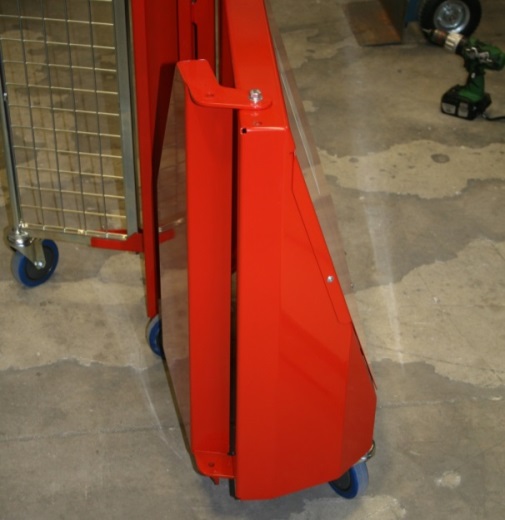
 Insert four M10 bolts (two at the top and two at the bottom)
 Securely tighten all four bolts.
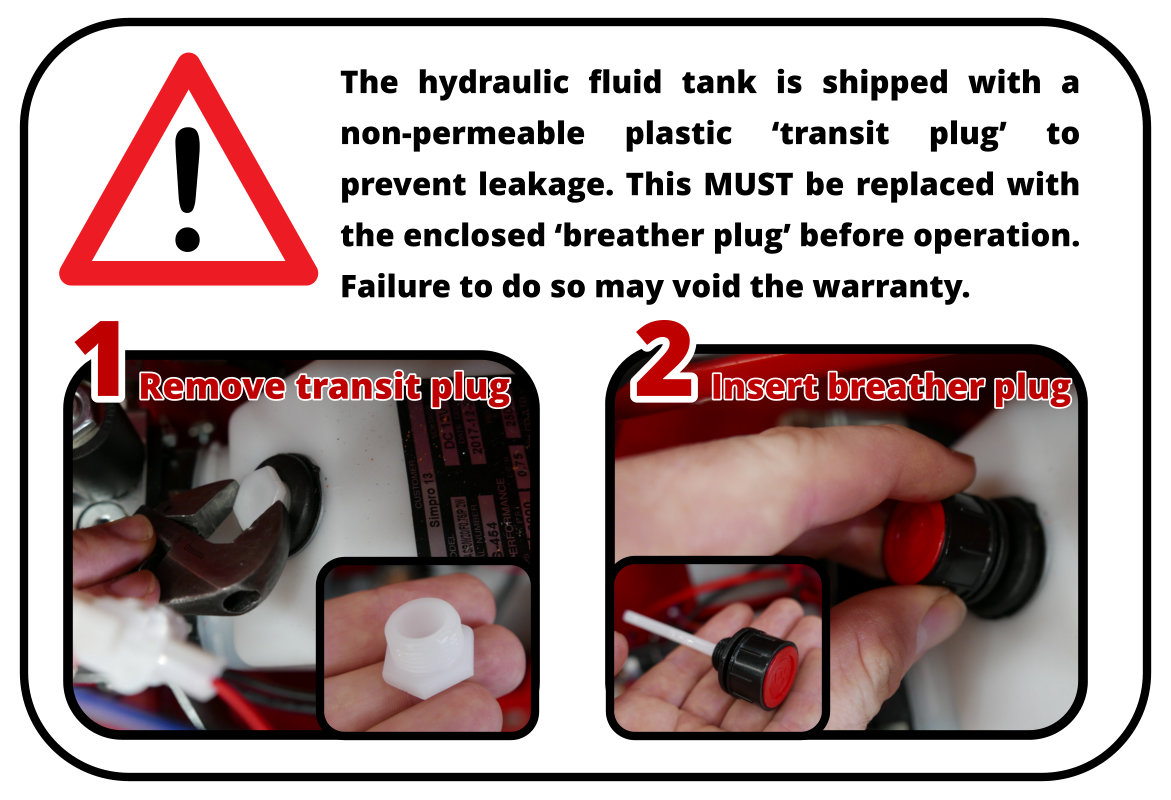
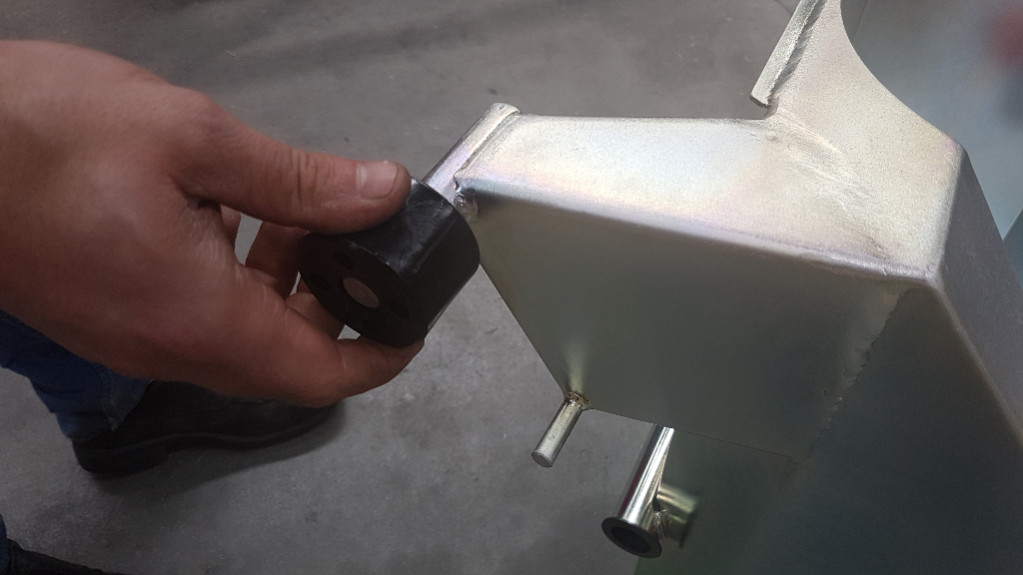
Remove the transit plug from the hydraulic oil tank and replace it with the breather plug.
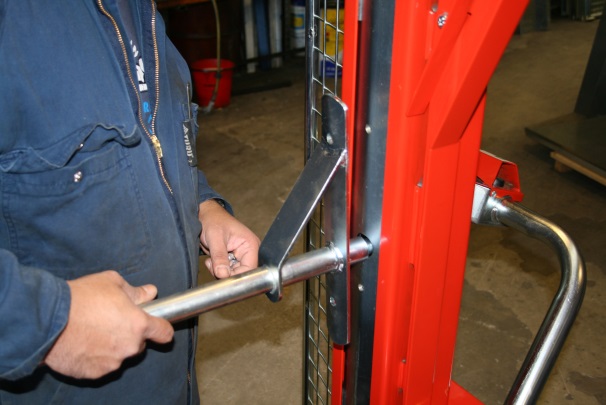
- Insert and secure the grab handle.
 Fit the grab handle into the matching aperture in the side of the main frame.
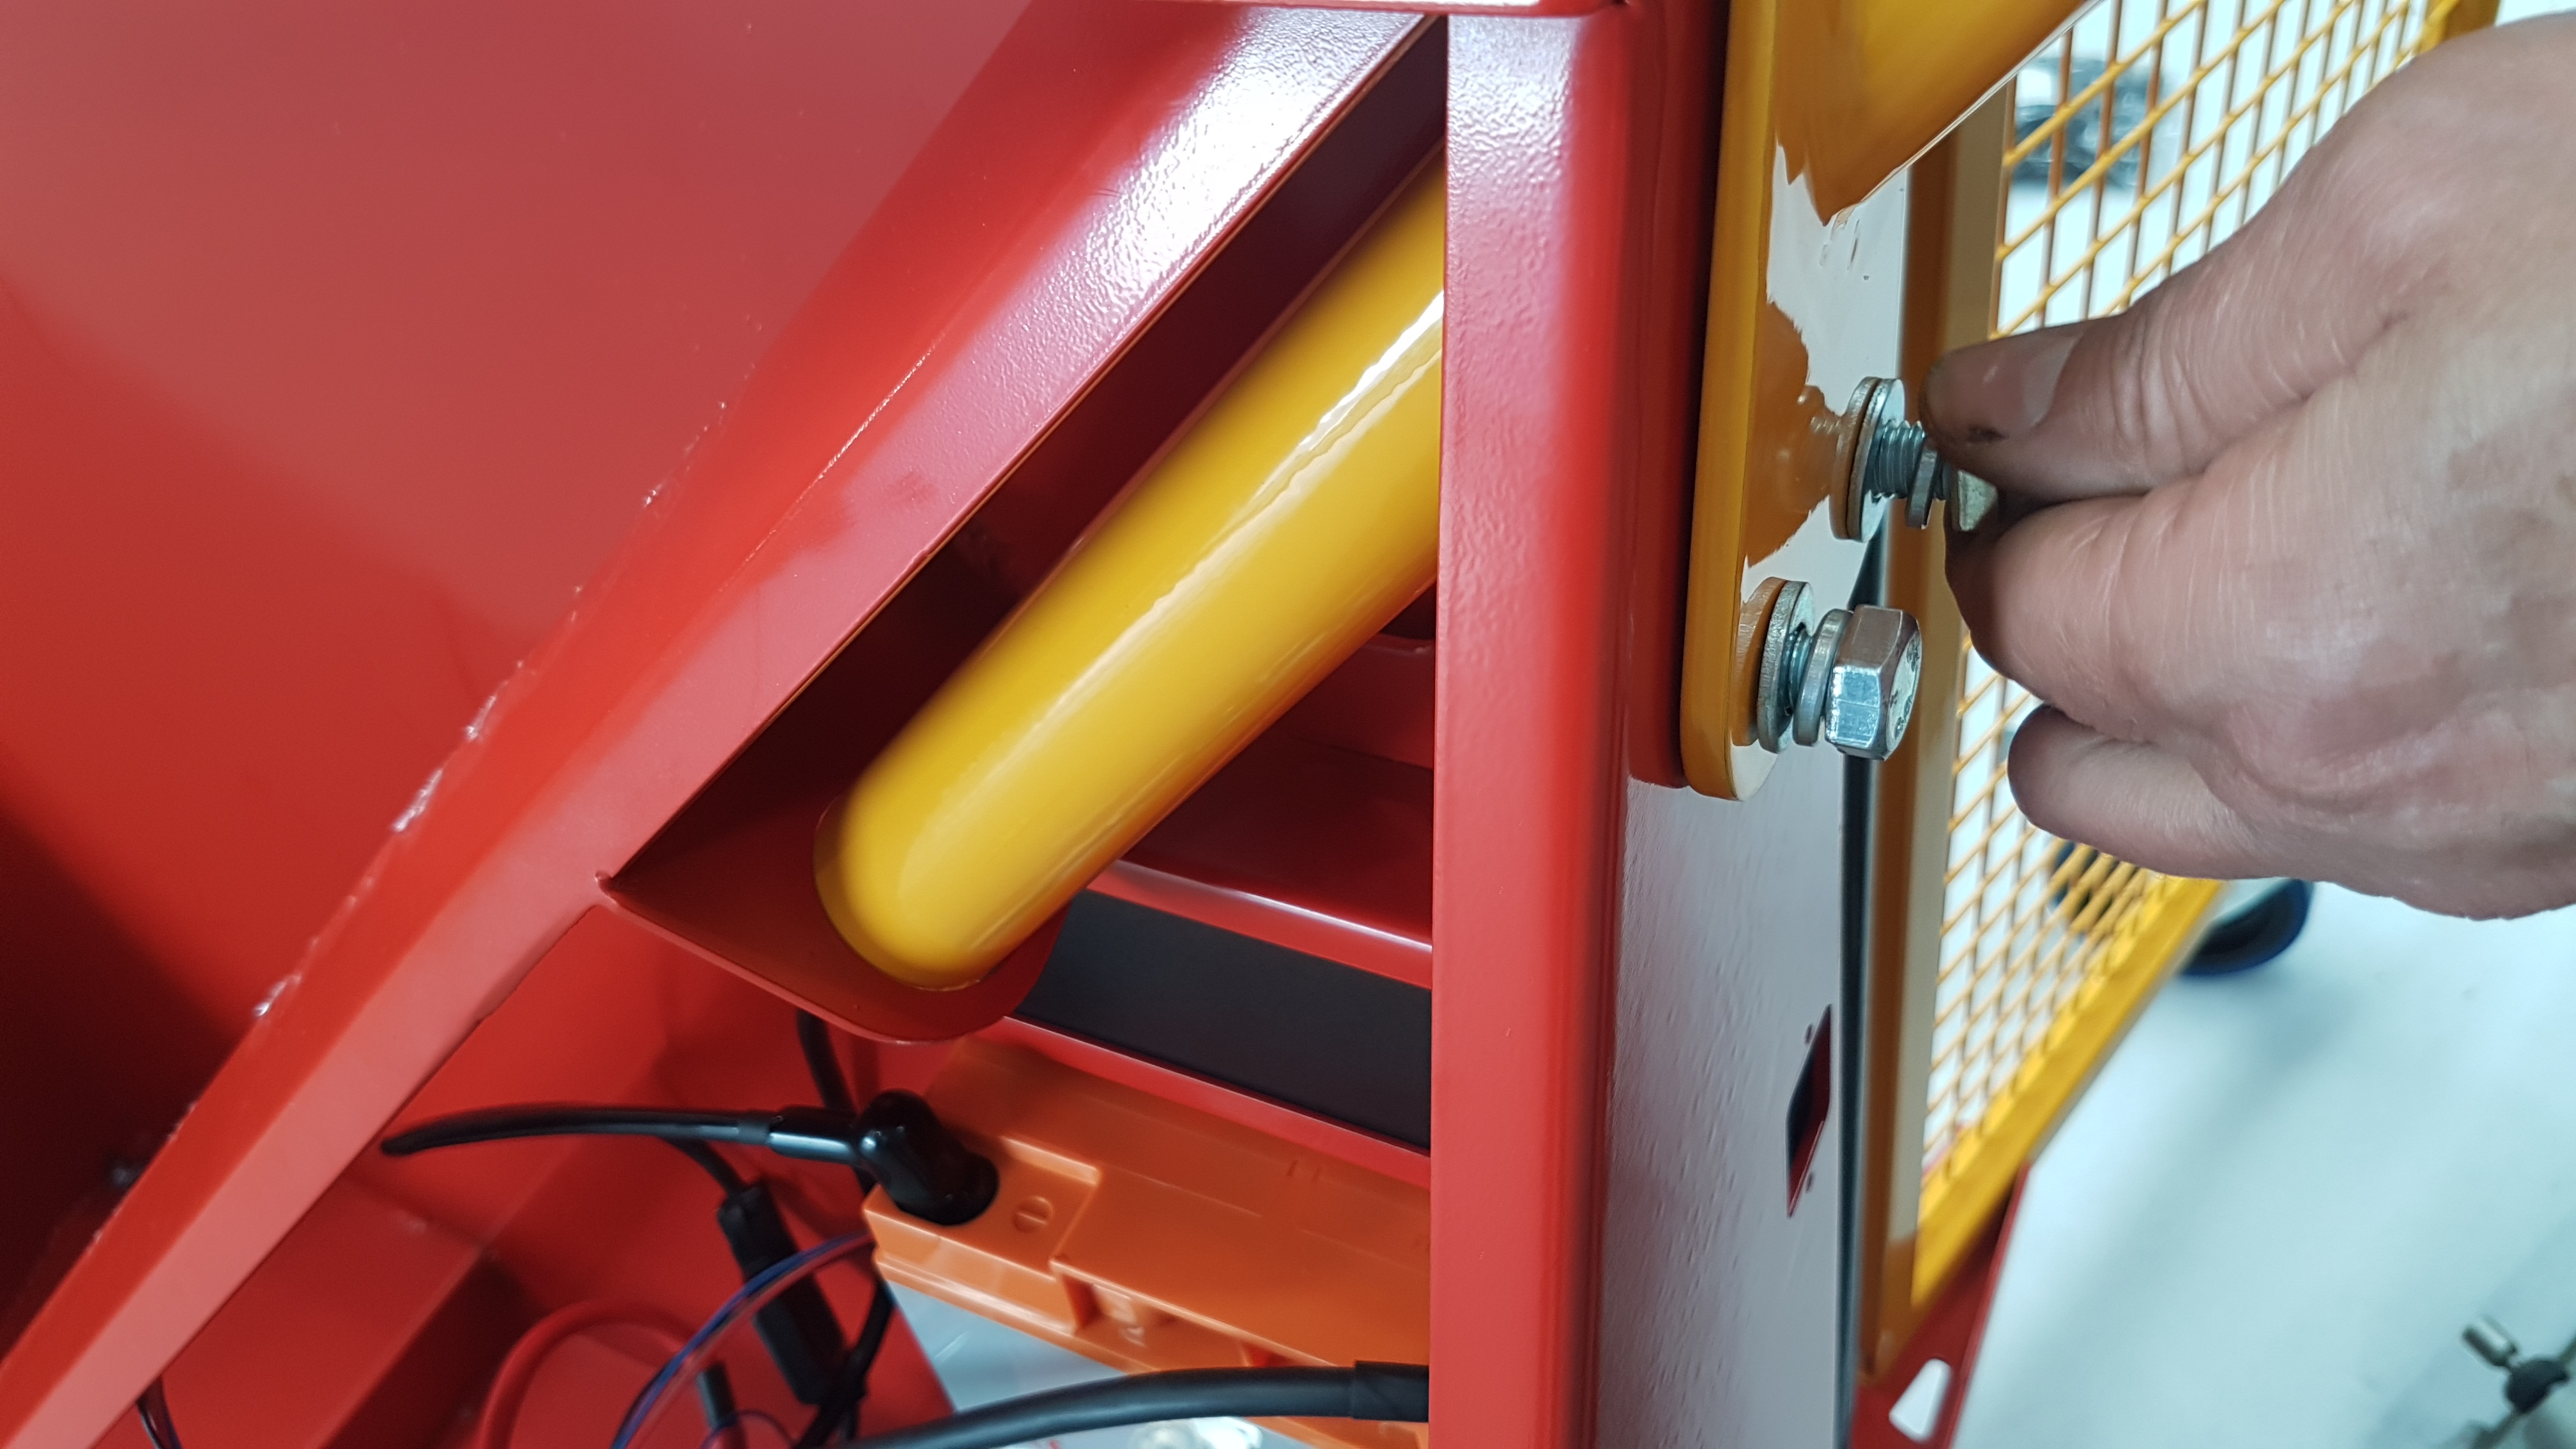 Insert two M8 bolts and tighten firmly.
 - Connect the wiring loom plug and socket.
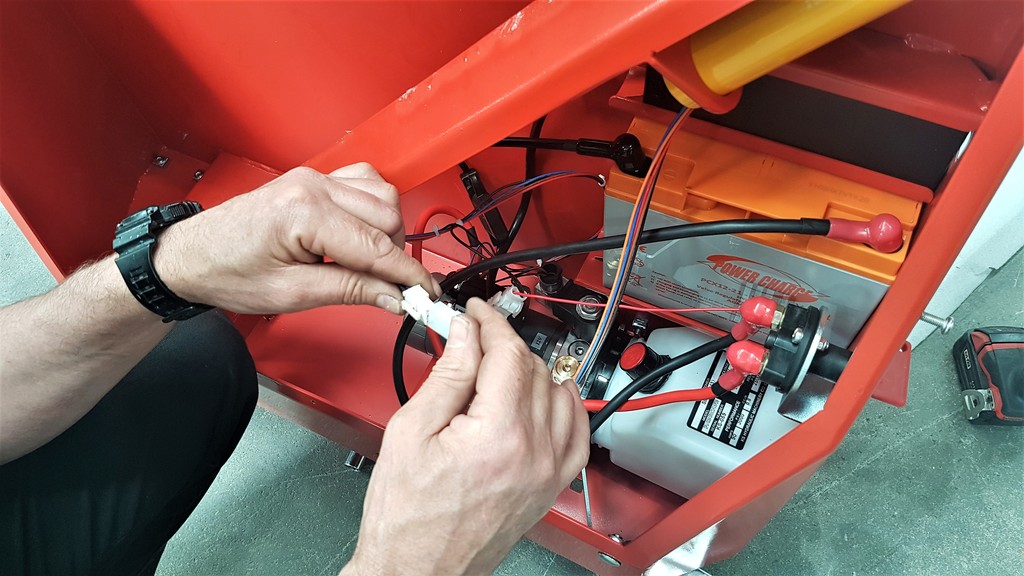 Connect the wiring loom from the controls, to the matching socket in the machine.
- Re-fit and secure the compartment cover.Refit the cover to align the screw-holes
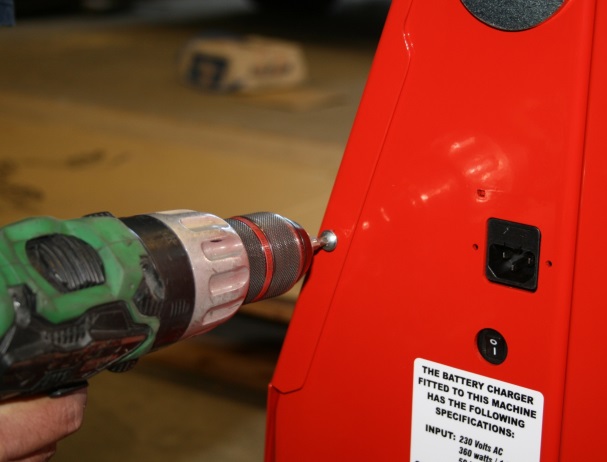 Replace and tighten all screws.
The Multi-Tip is now powered up.
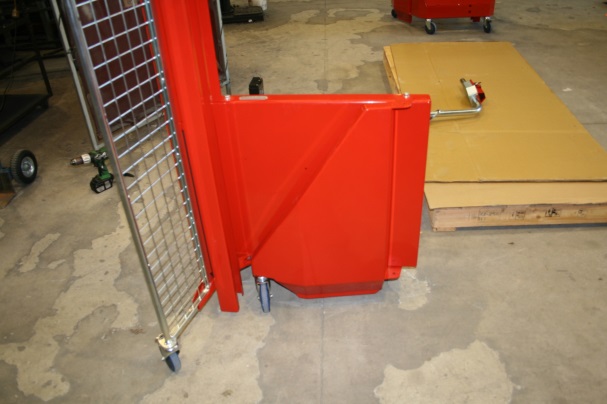
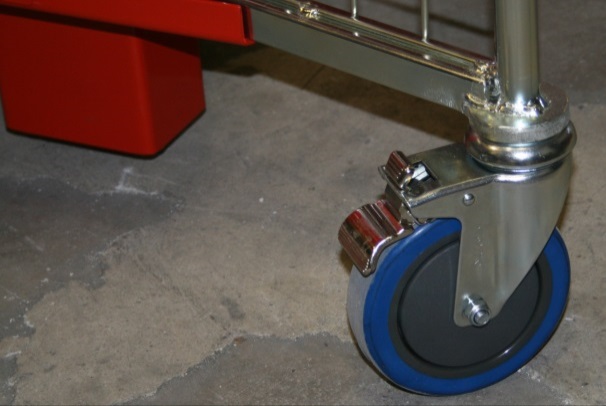
- Lock the castor wheels.
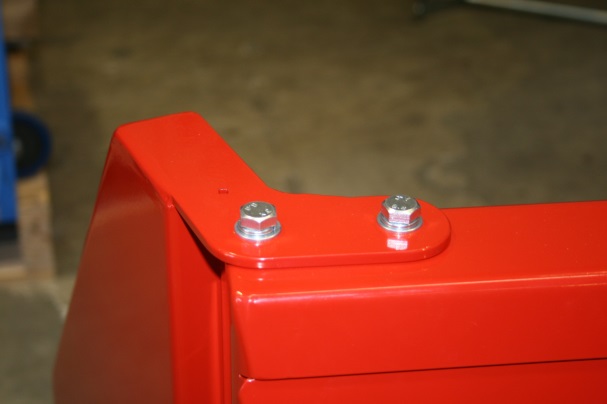
- Attach the cradle axle onto the cradle carrier.
 The axle should slide into the matching hole in the cradle carrier.
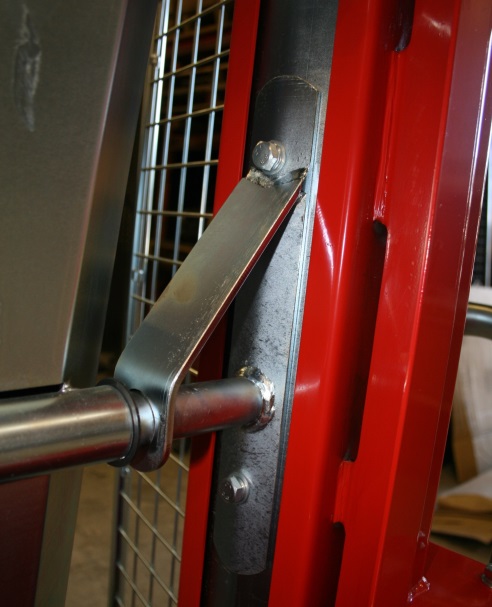 Ensure the axle is seated properly against the carrier frame.
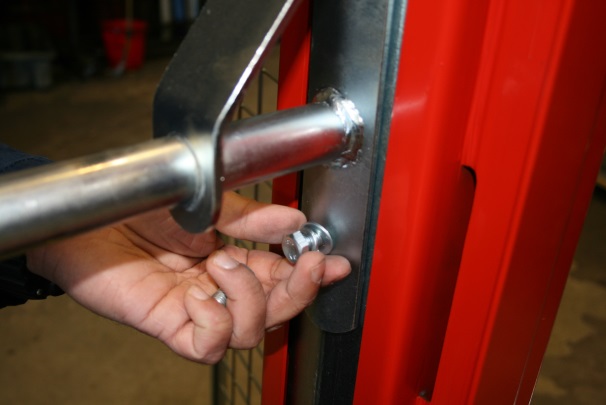 Insert two M10 bolts with flat and spring washers, and fasten firmly.
- The cradle may now be fitted.
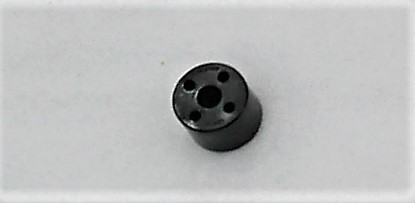
 If not already fitted, slide the small 'follower roller' onto the axle at the top of the cradle
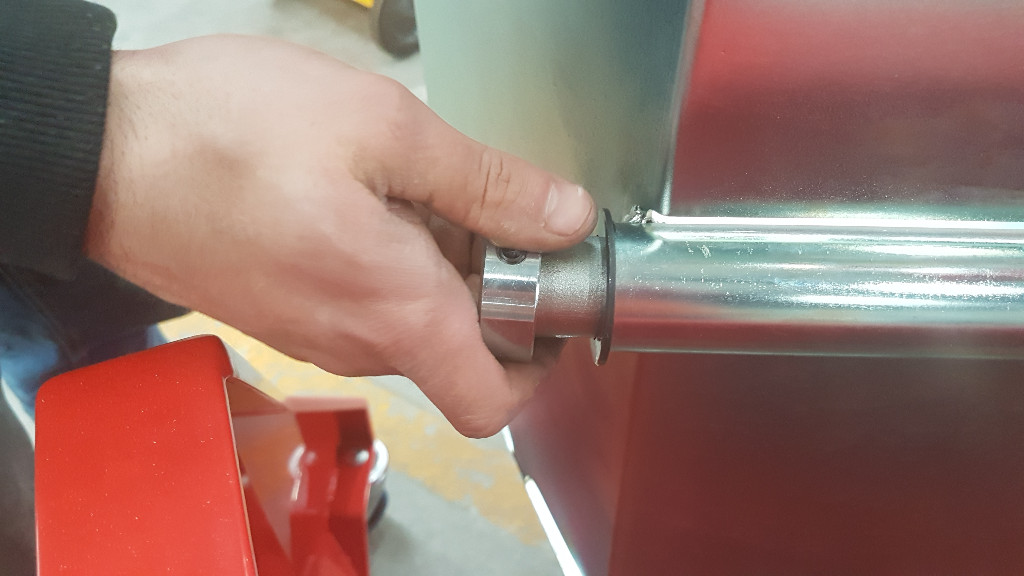
 With the cradle carrier located at about 800mm, lift the cradle and gently slide it onto the main axle.
 Ensure the ‘following roller’ locates into the guide track, then push the cradle firmly into position.
 Fit the shaft collar to the end of the axle, leaving a movement space of about 2mm.
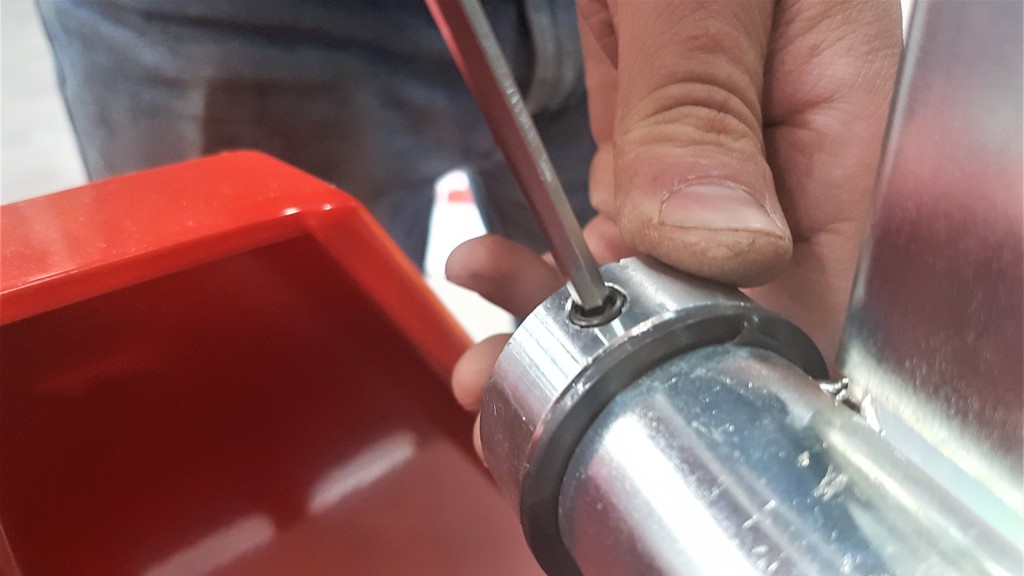 Use an allen key to secure the shaft collar.
 - Bin catches may now be fitted to the cradle (if not already fitted).
 Two bin catches are supplied, but only one needs to be used for most wheelie bins.
 Install only the left-hand bin catch, unless the Multi-Tip is regularly emptying 240-litre wheelie bins which weigh more than 100kg
 - Test the operation of the Multi-Tip.
- Check that the cradle travels the full cycle without sticking or rubbing.
- If necessary, adjust the position of the shaft collar so that the cradle moves freely.
- A light silicone spray may be used to lubricate inside the mast and guide.
- Check that all controls function correctly, including:
- Brakes
- Up and Down buttons
- Safety button
- Key switch
- Voltage indicator
- Charger
- Check that the cradle travels the full cycle without sticking or rubbing.


Once all controls and functions have been checked, the Multi-Tip may be commissioned into service.
Congratulations! Your Multi-Tip is now ready for use.