How to assemble a Simpro Dumpmaster bin lifter which has been shipped in a dismantled state.
Procedure
- Remove all paperwork from the consignment and then all wrapping and strapping from the machine and parts.
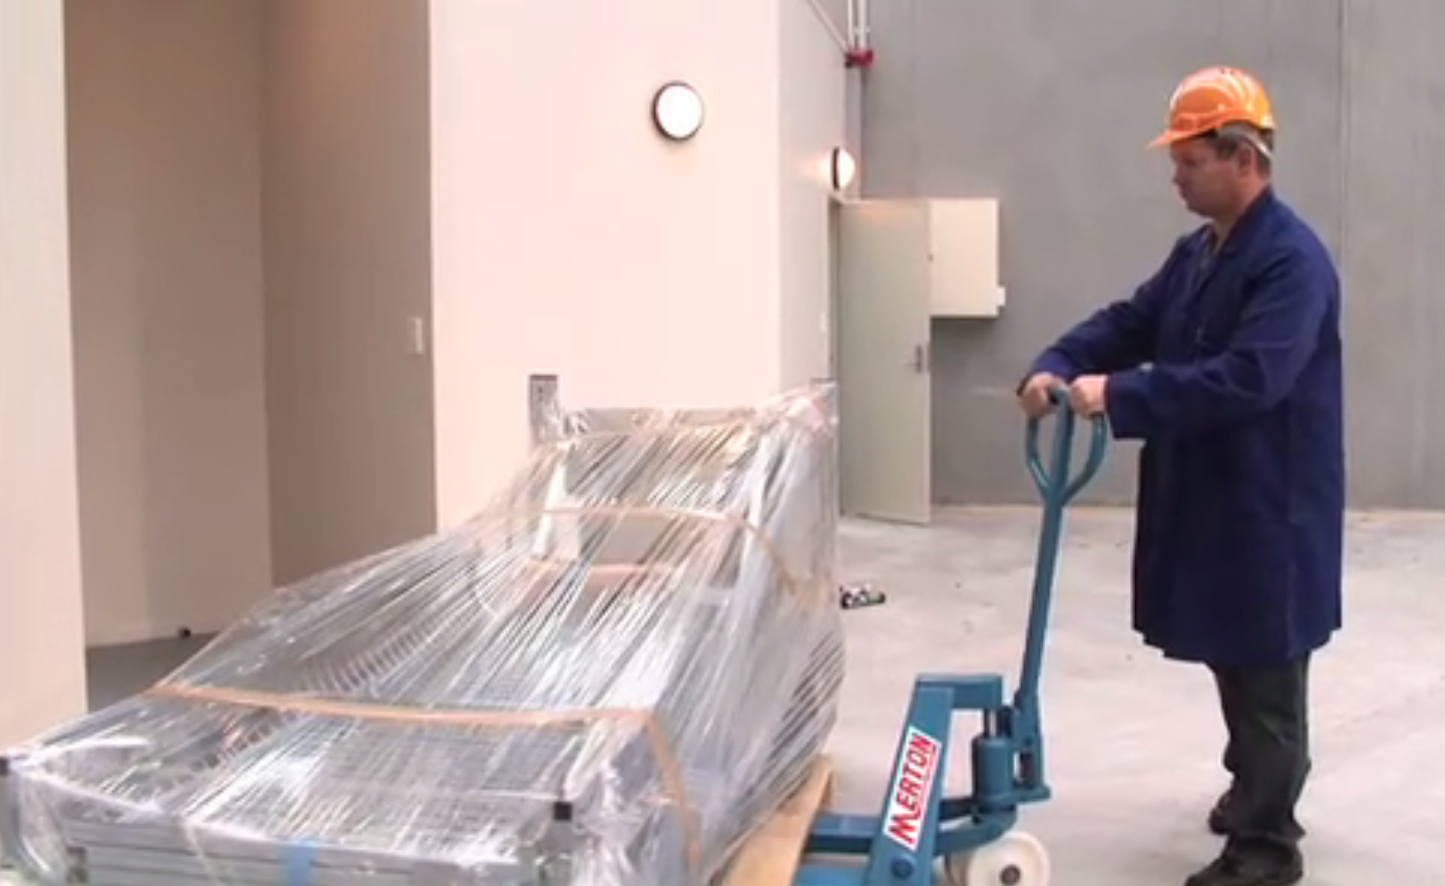
- Undo the ties holding the guards to the machine and put the guarding parts to one side. If you received more than one machine the serial number of the machine will be written on each of the guarding parts, so they can be placed into separate piles.
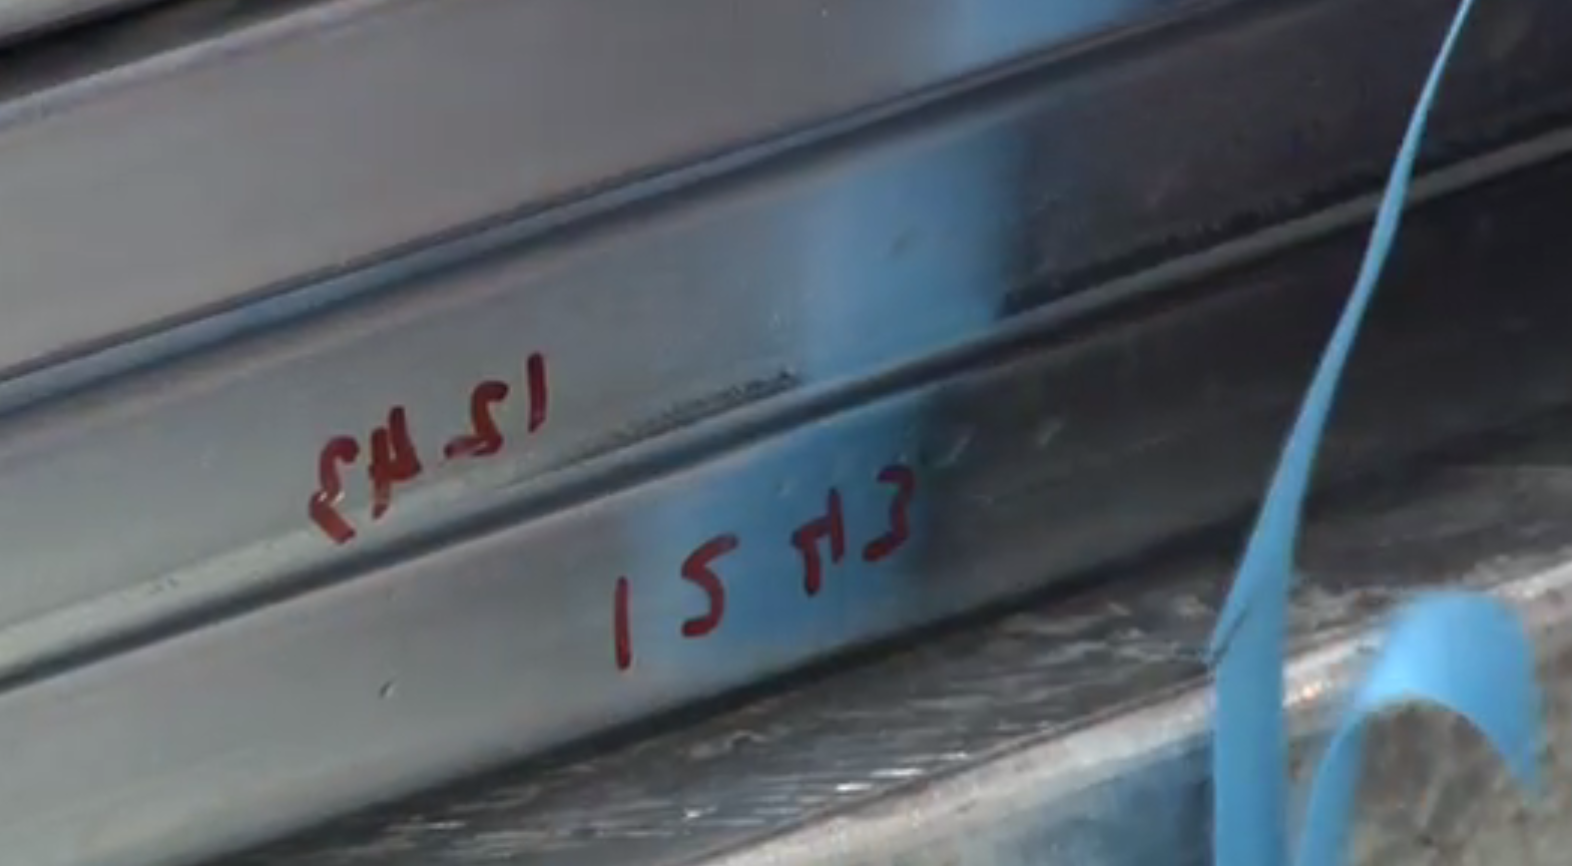
- Don't cut the strap which holds the cradle down until you have the unit standing upright. This is to prevent the chains from becoming slack and the causing them to slip out of the top roller groove.
- Pick up the left hand side guard which has a base with no spigot. Slide the top of the guard onto the pin on the frame and then slide it down so that the bottom pin goes into the hole in the base member.
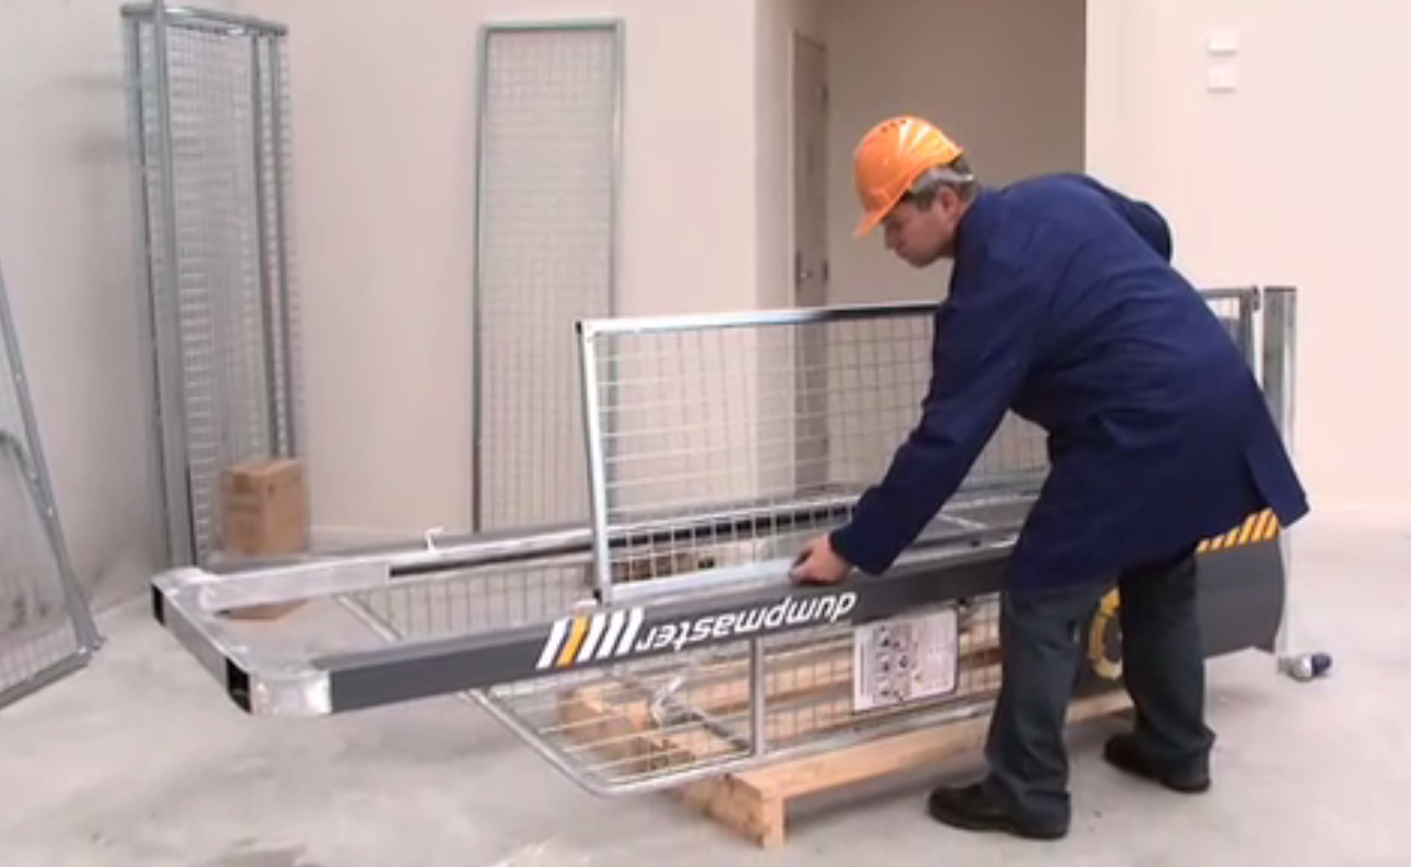
- Put in the castor bolt and spring washer through the hole in the baseplate and the frame and hold it in place and tighten the bolt firmly.
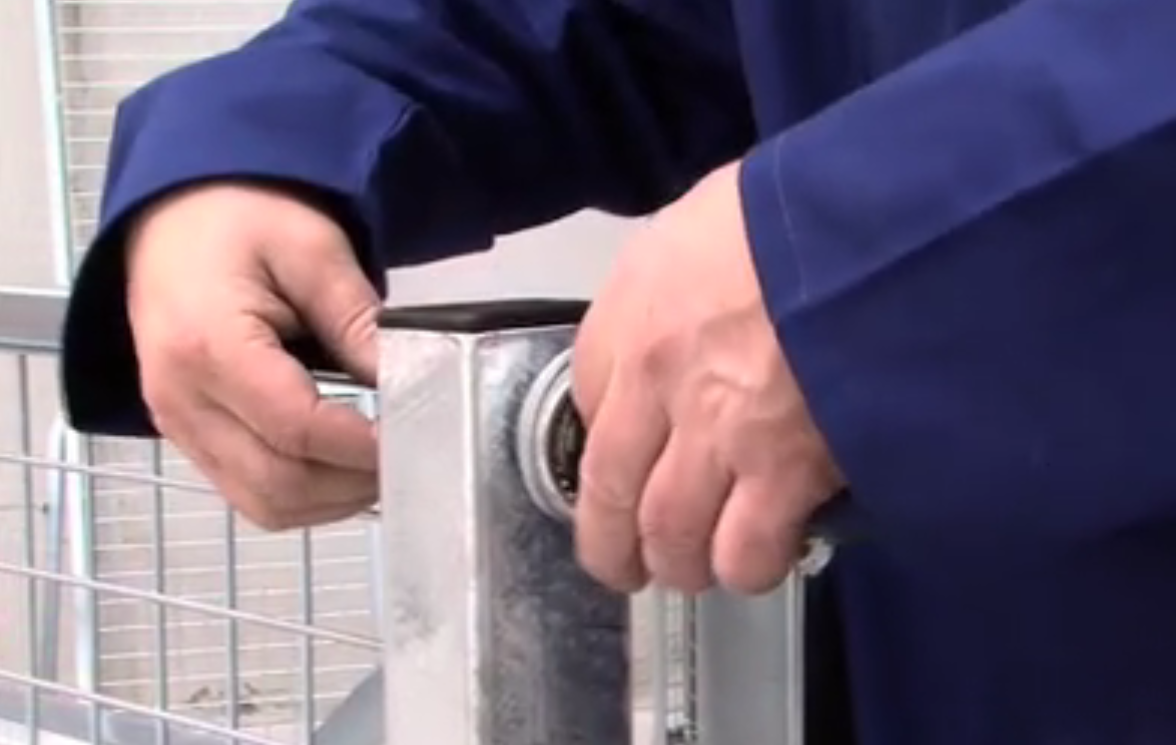
- Check that the castor wheel turns easily
- Repeat for the opposite side.
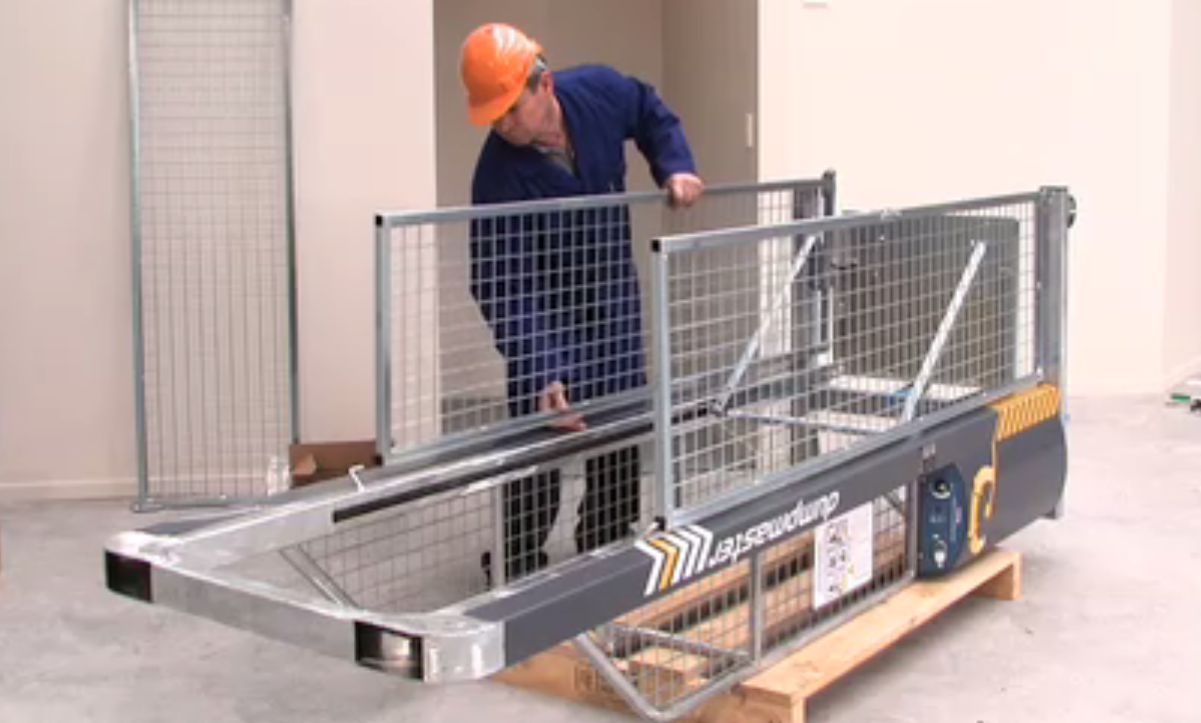
- Lay the door on top of the side guard panels, locating the bottom of the door onto the hinge pin.
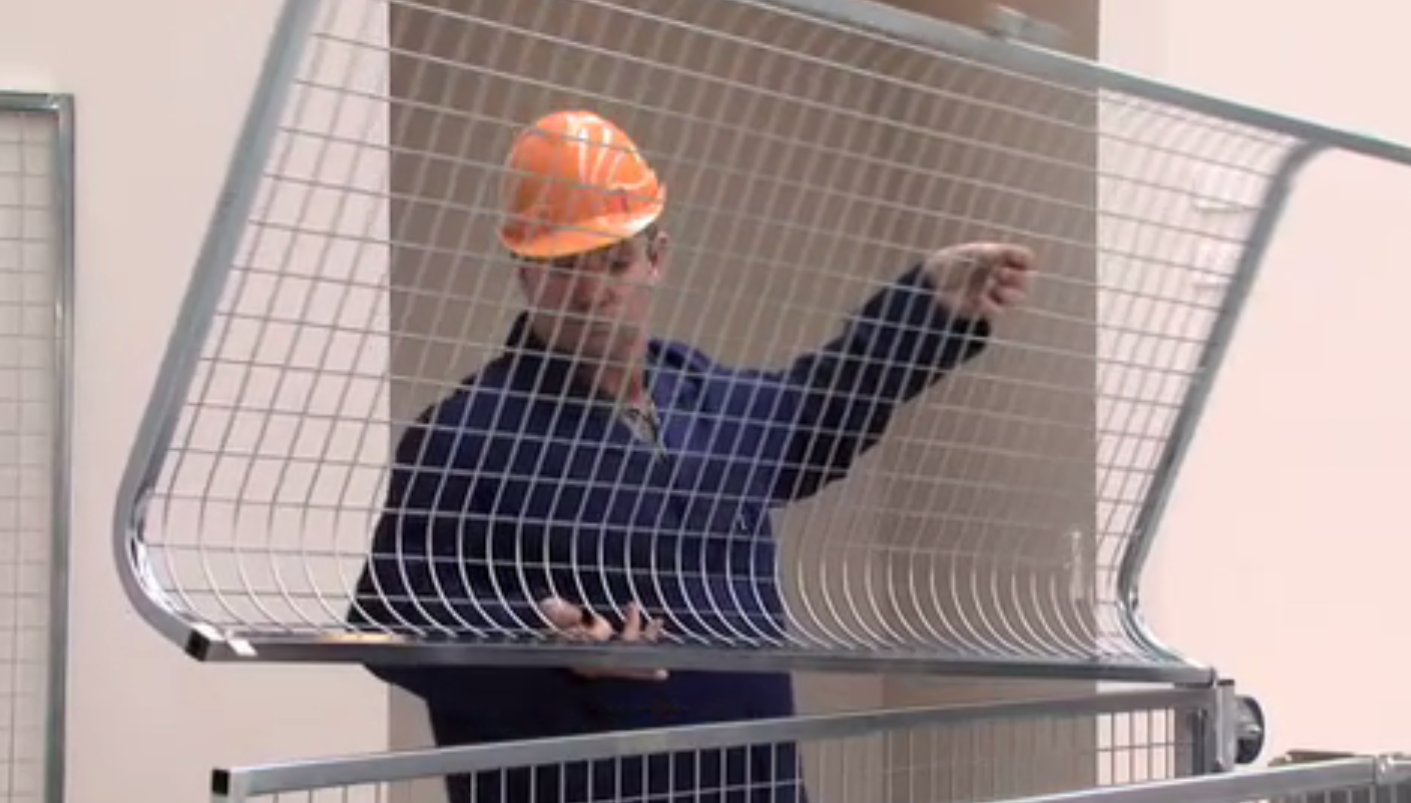
- Place the 'U-Bar' in position.
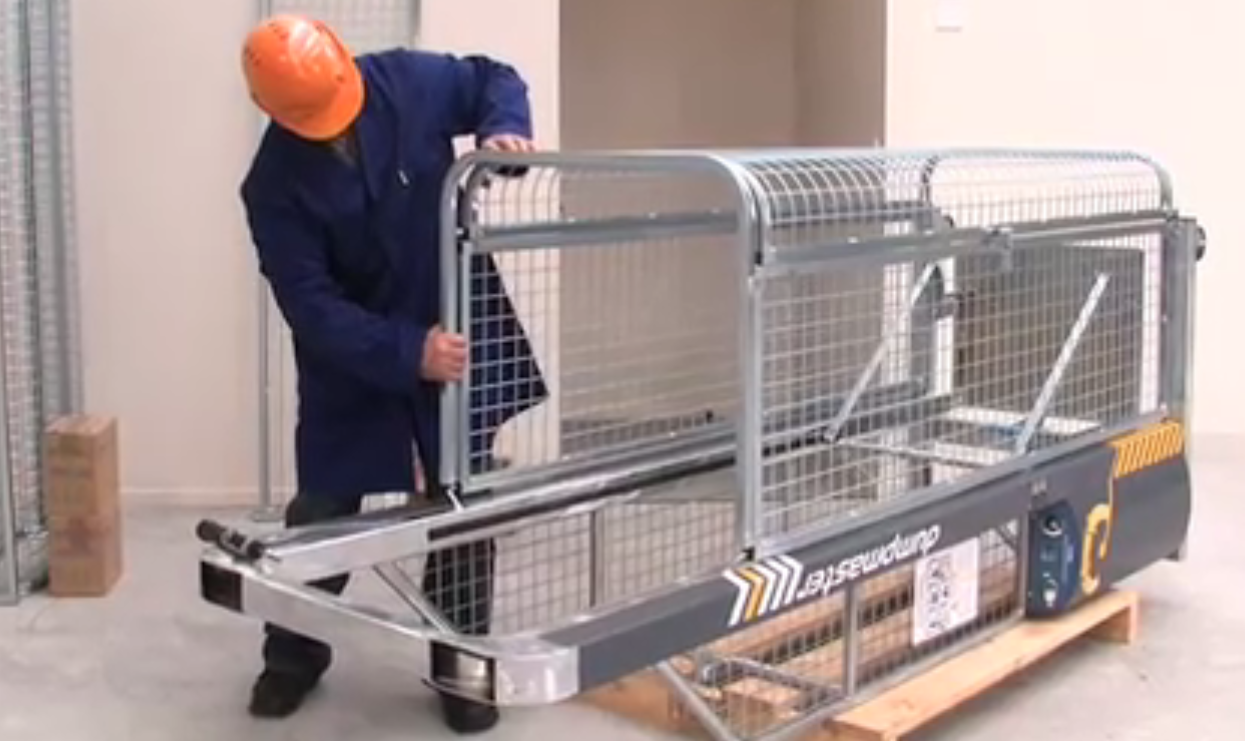
- Fasten the 'U-Bar' to the side guards with screws.
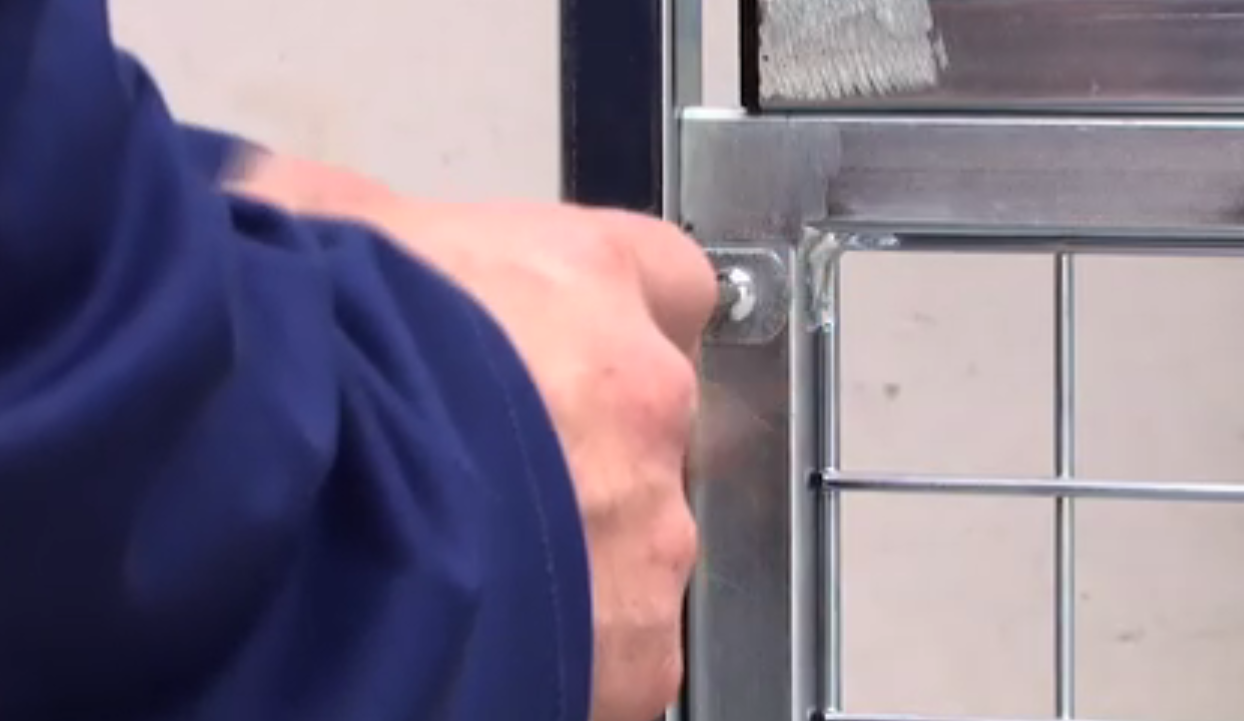
- Attach the remaining castor wheel.
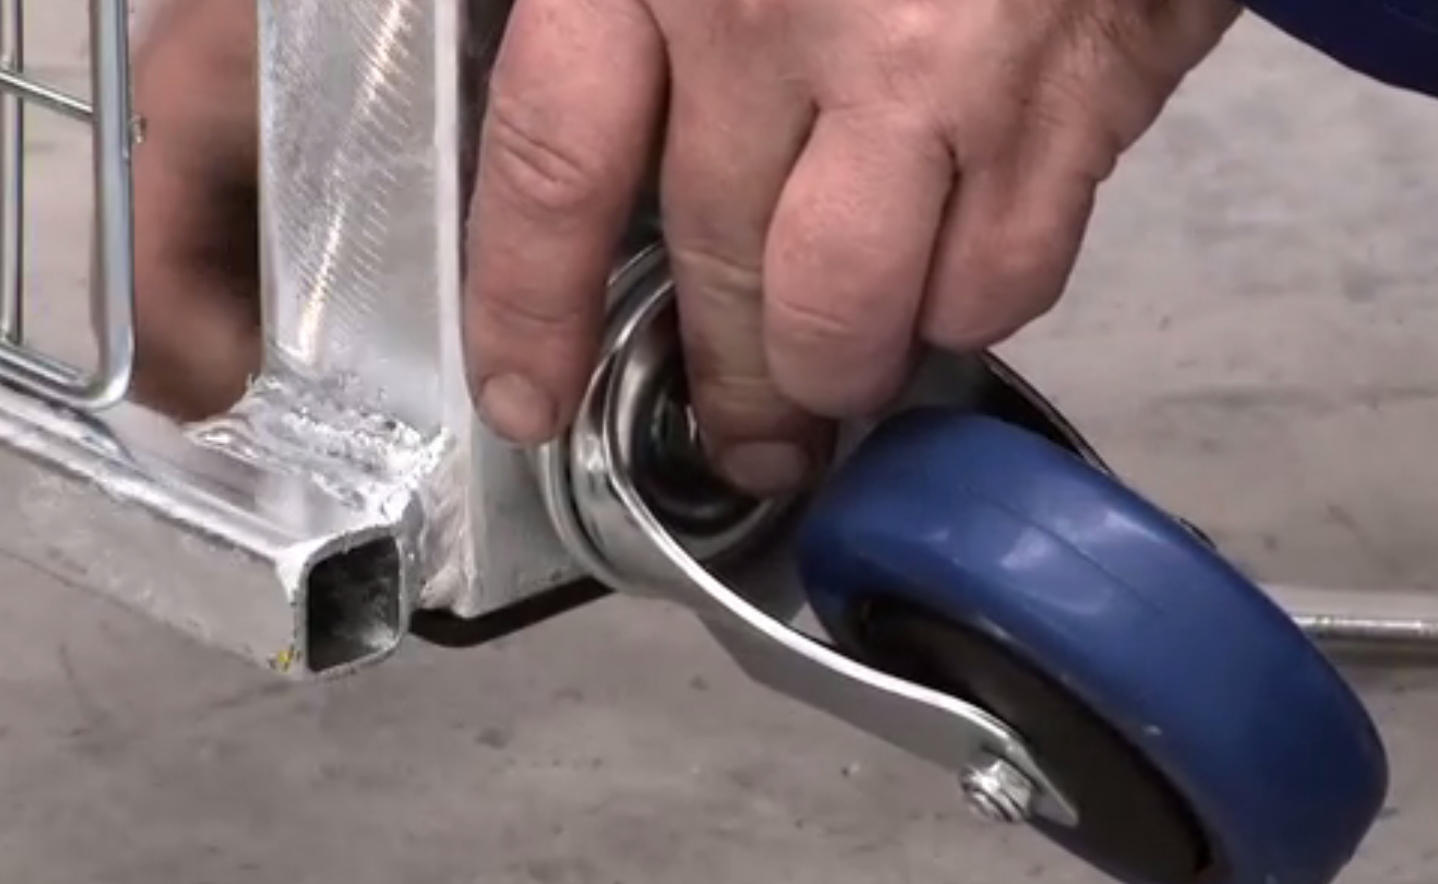
- The machine can now be stood upright. (Note that you may require two persons or a lifting device to do this.)
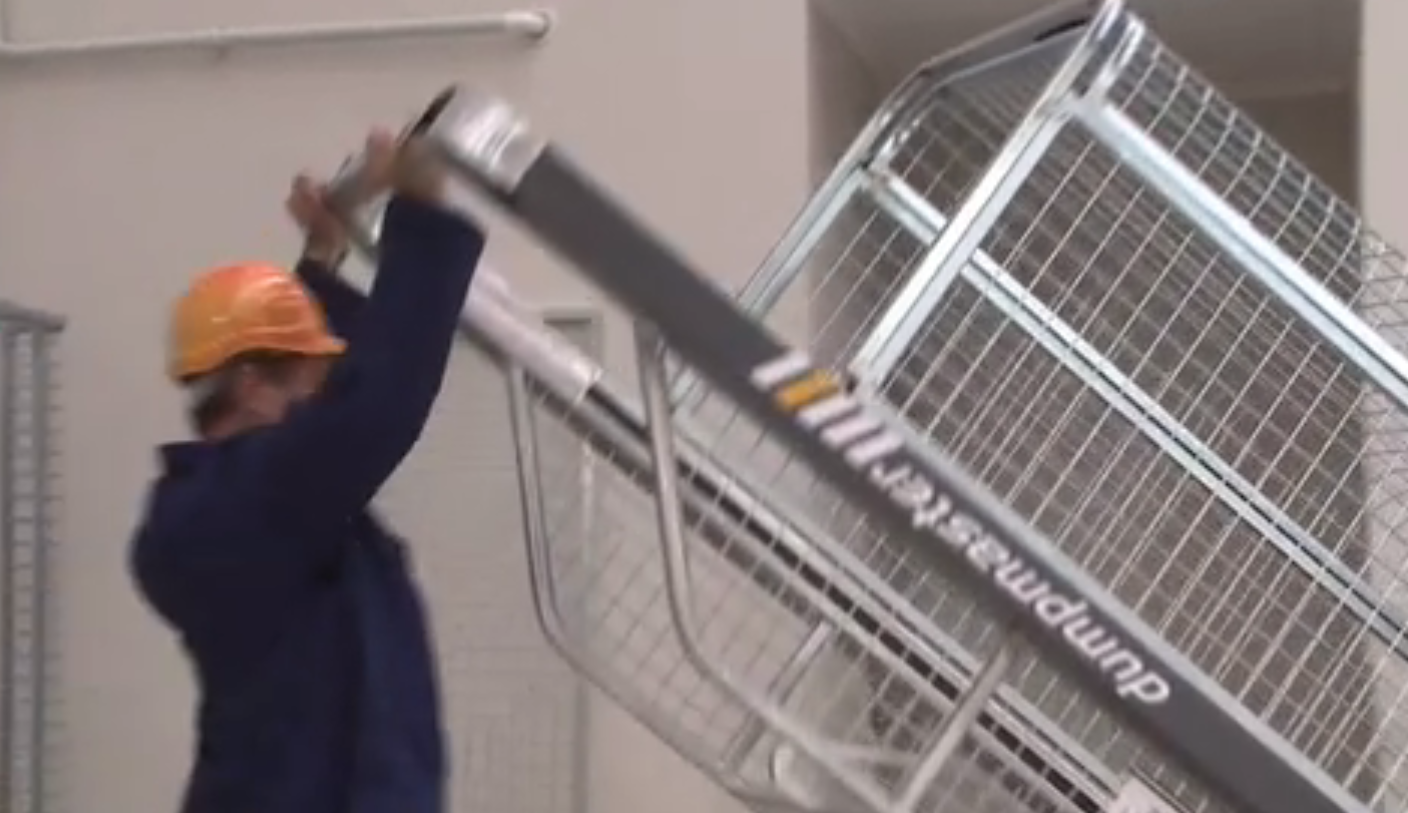
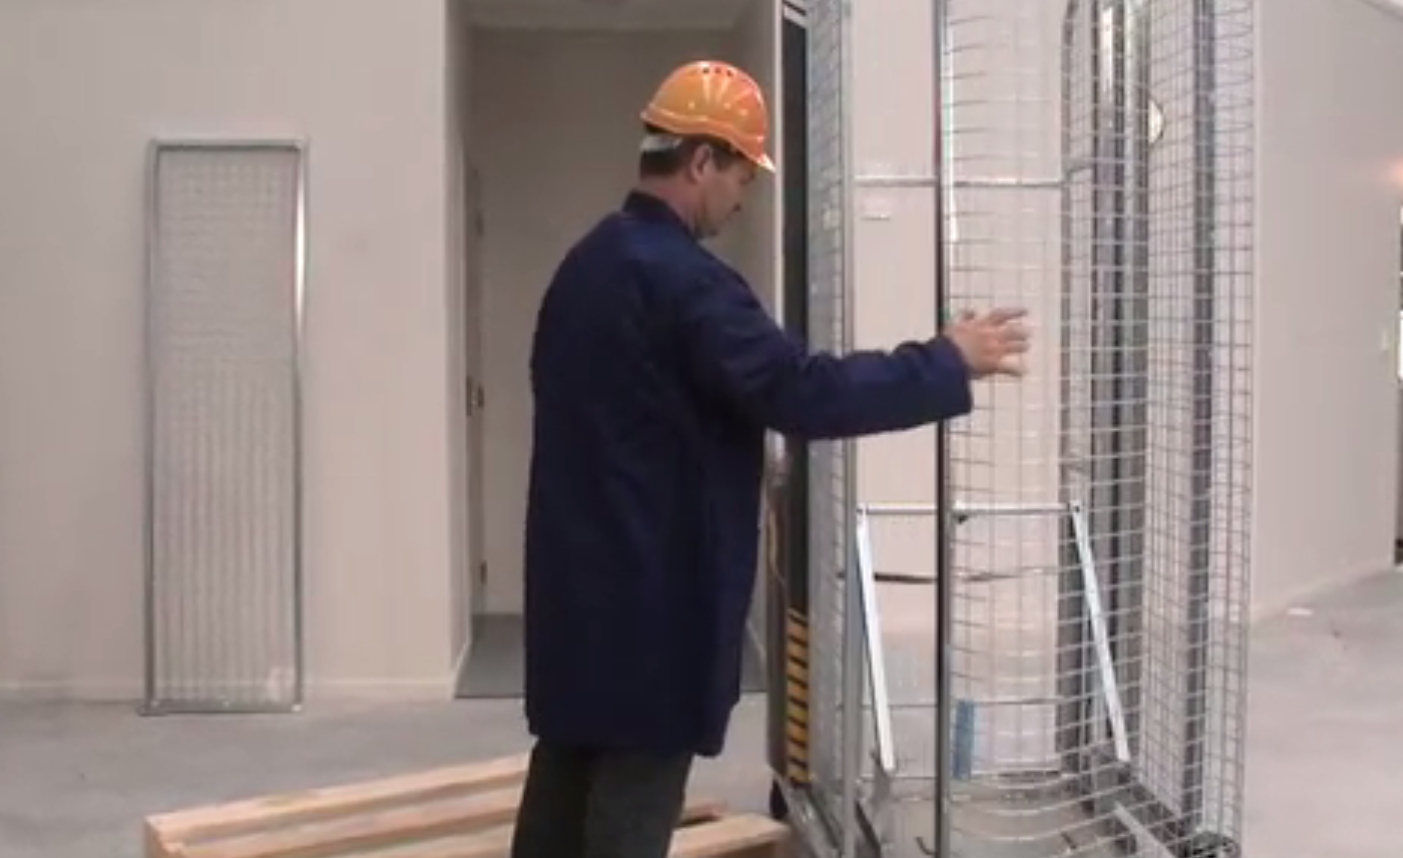
- Once the machine is standing, check that the door opens and shuts properly and that the lock holds shut.
- To access the battery you will need to remove the powerpack cover and connect the battery if it was not supplied connected. You will also need to remove the powerpack cover so that the door lock cable can be connected.
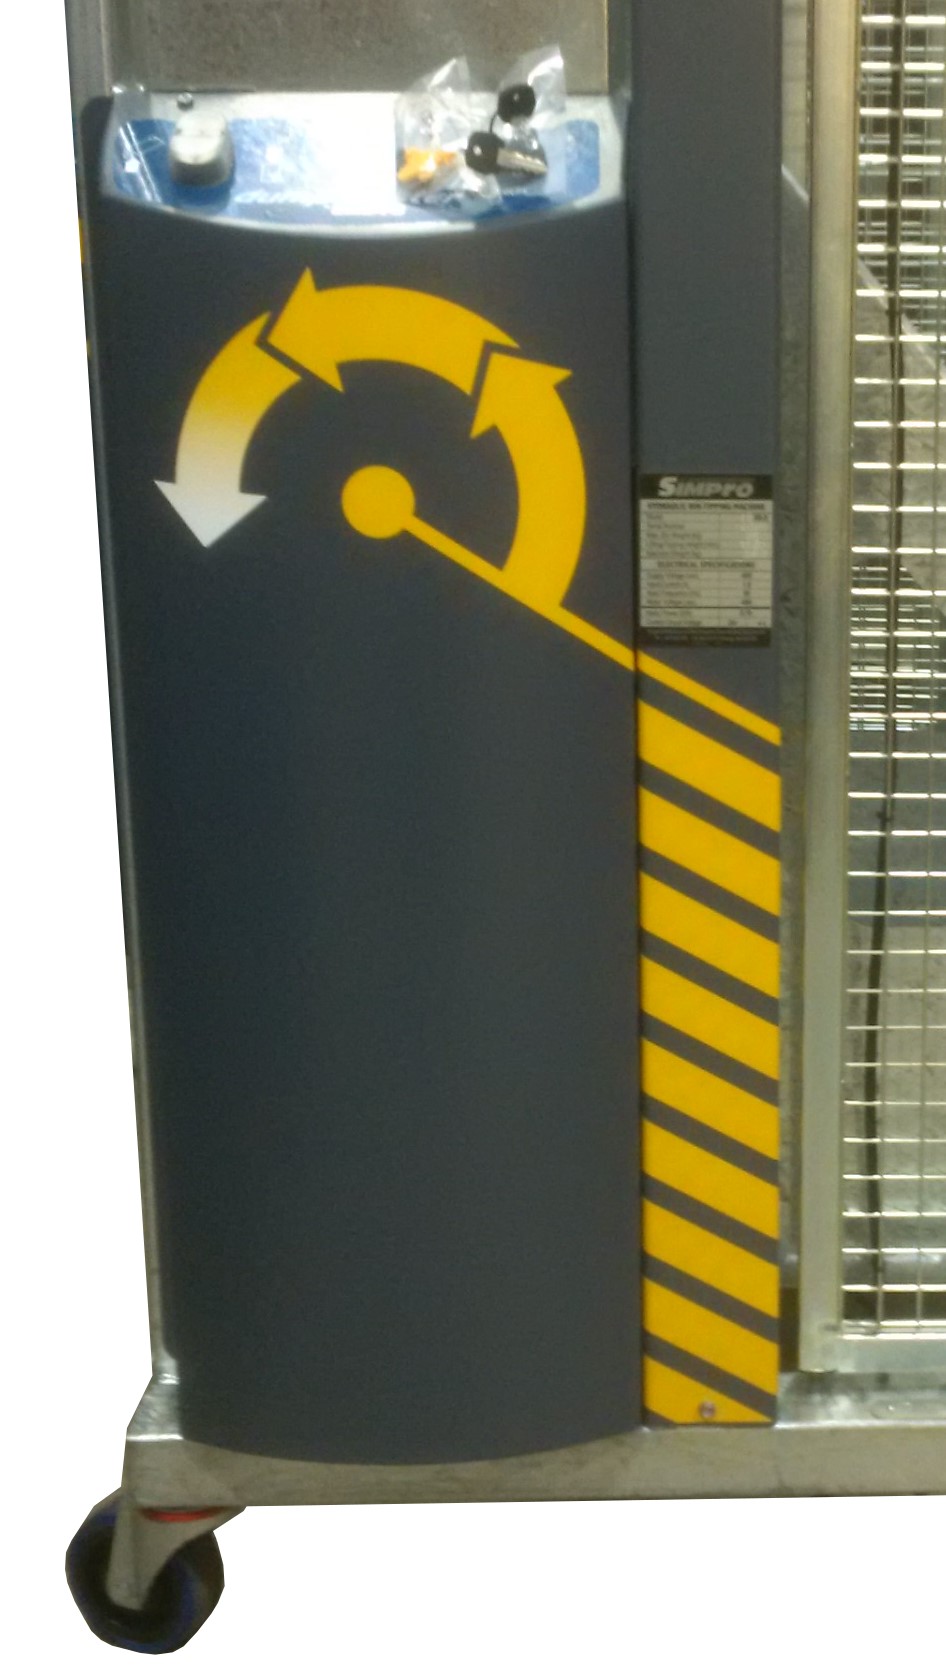
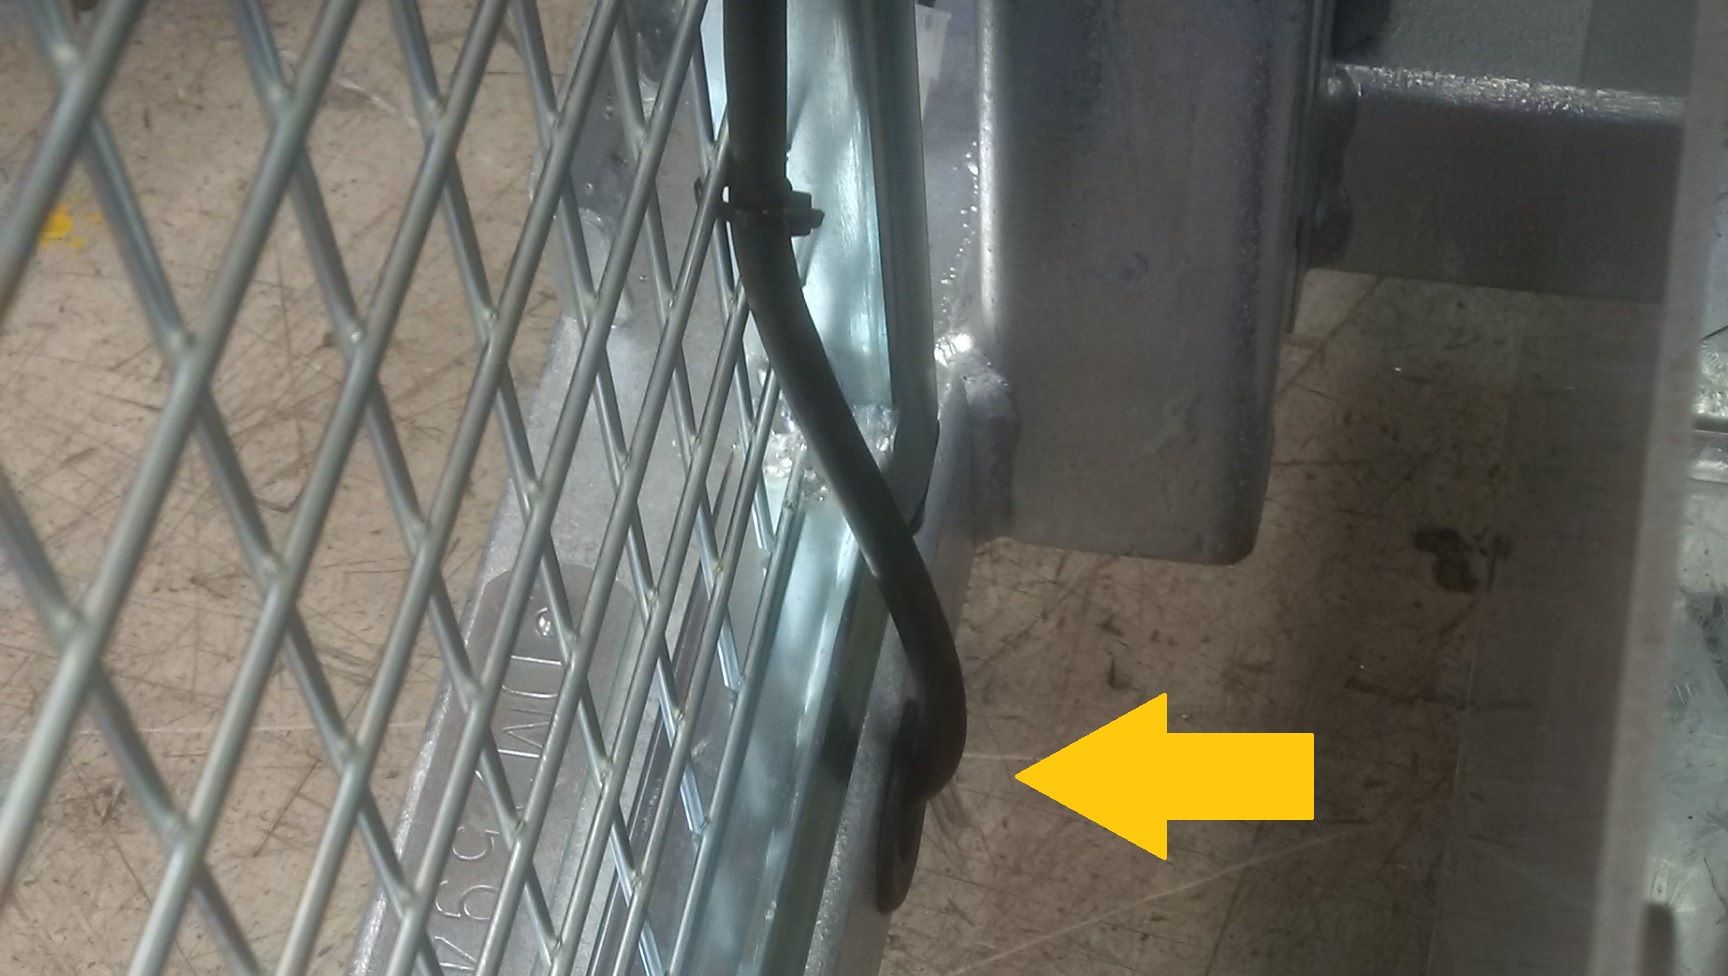
- On models manufactured from 2016 onwards, there will be a cable with two plugs coming out of the guard panel that is nearest to the powerpack. This connects the IDEC Door Lock system.
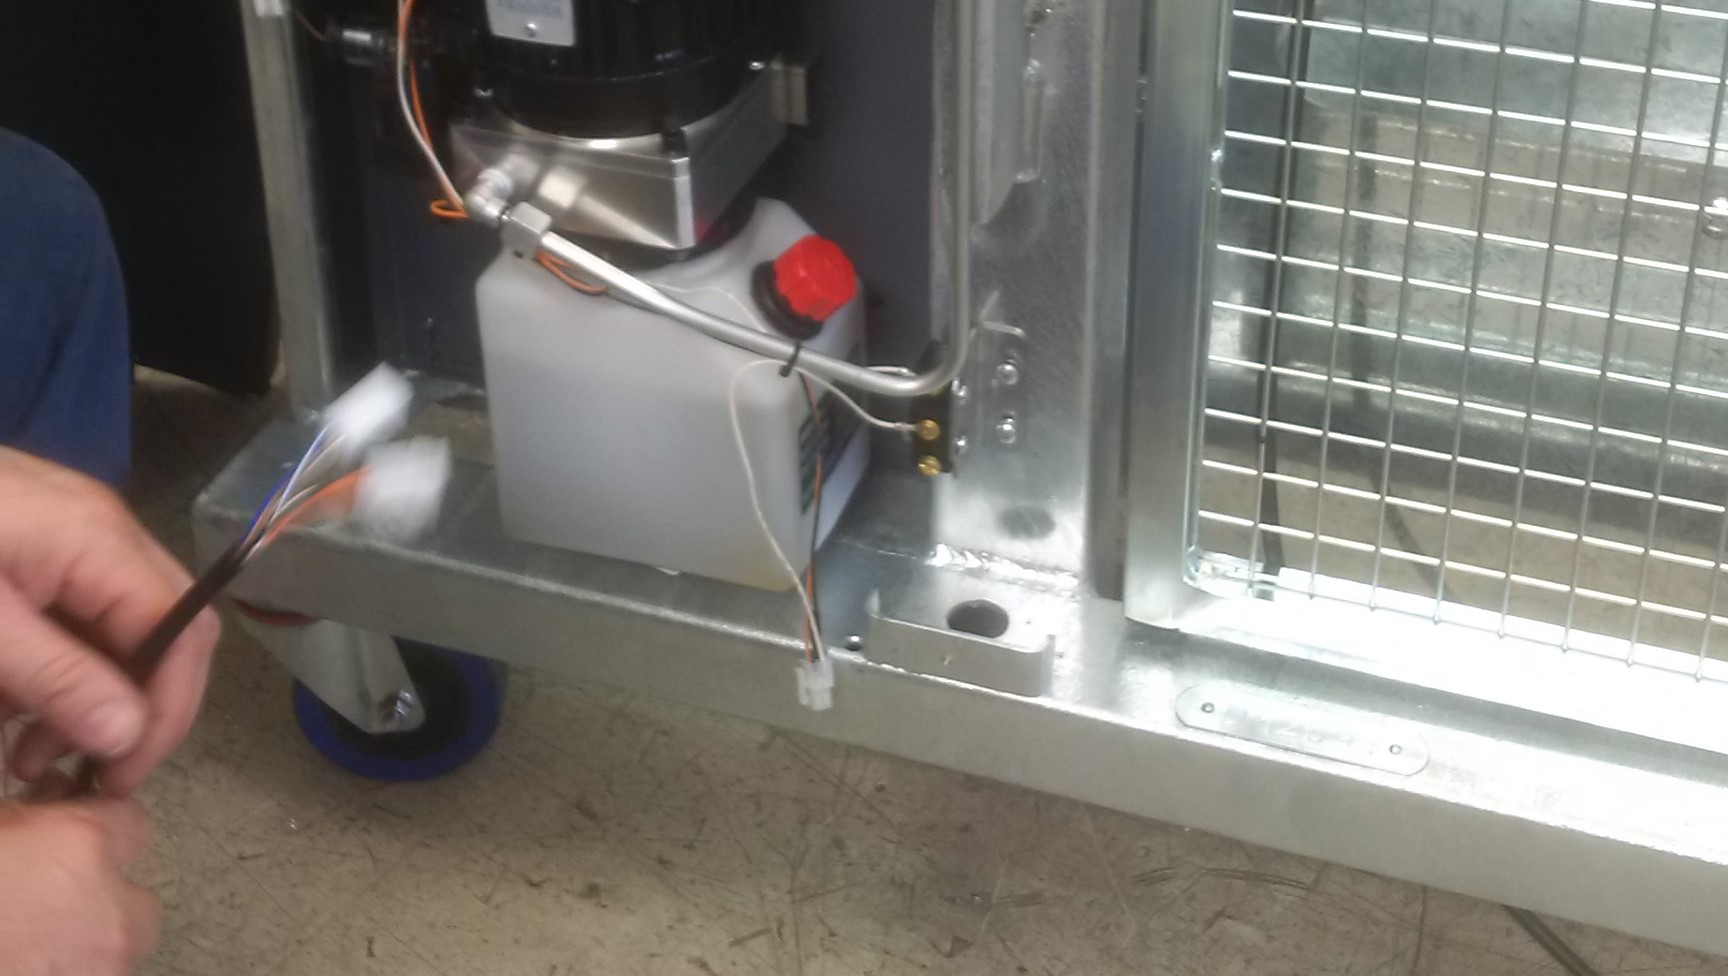
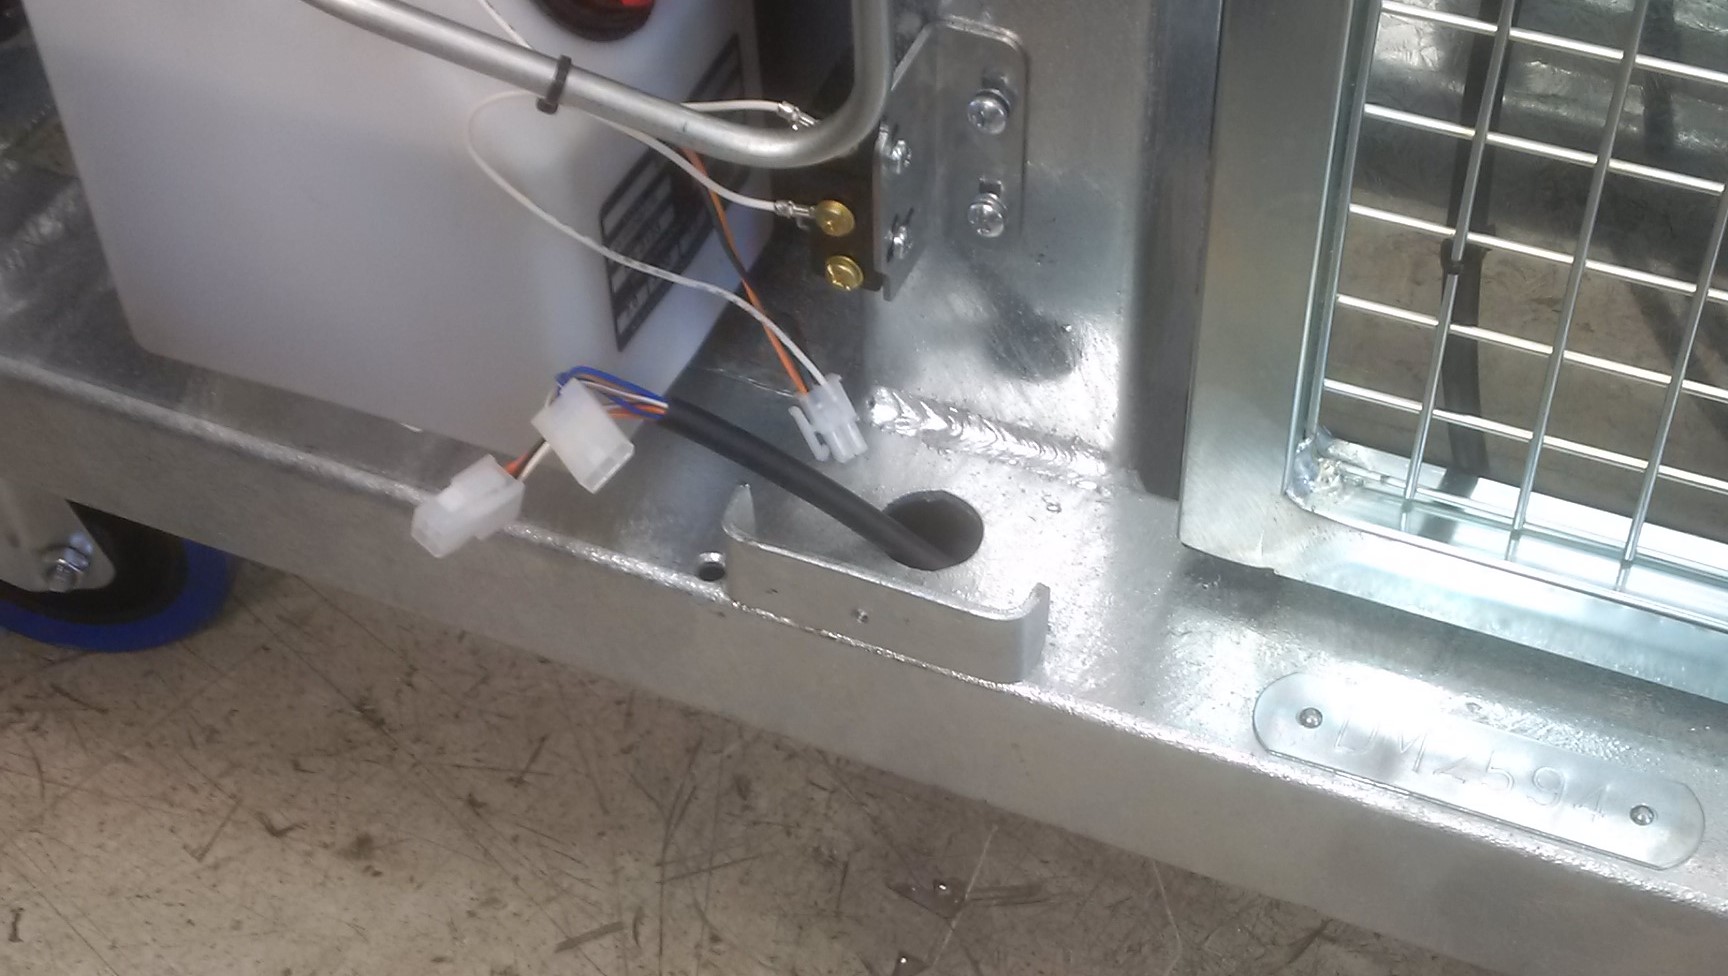
- Feed this cable and plug through the hole in the base frame...
- ...and out this side...
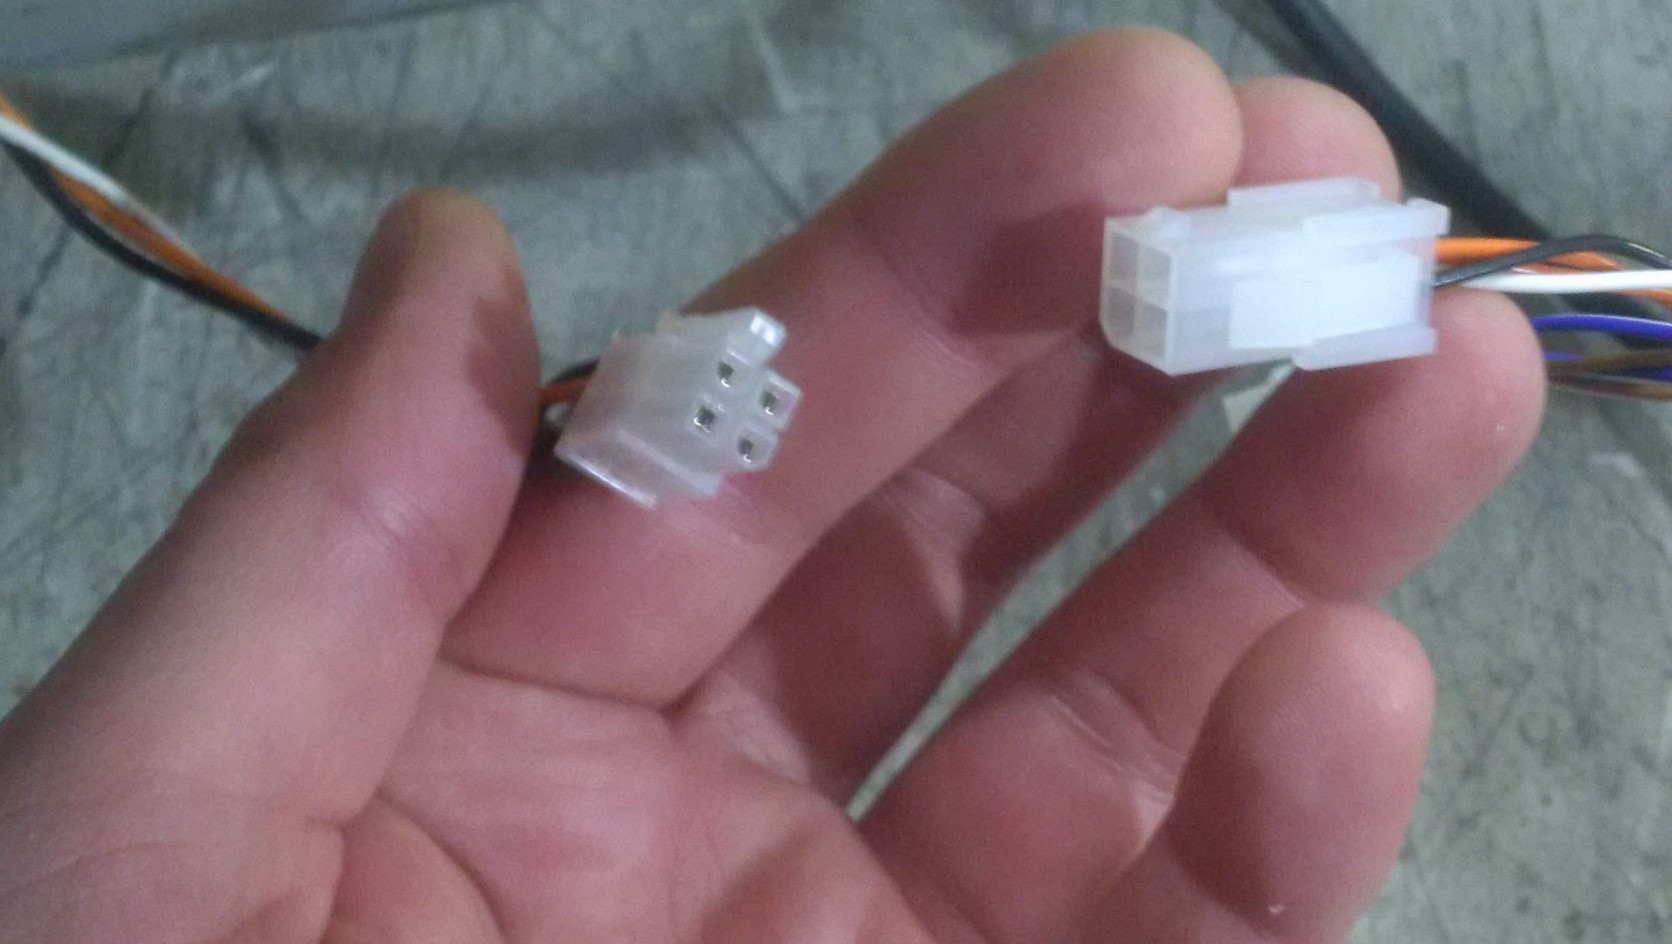
- Now connect the two '4-way' plugs together. You can ignore the '3-way' plug on the cable that runs to the lock.
- Wrap the excess length of the cable loosely around the motor so that it cannot slip free and hang out the bottom of the machine. Take care to ensure that the cable is out of the way of the covers as these are reinstated.
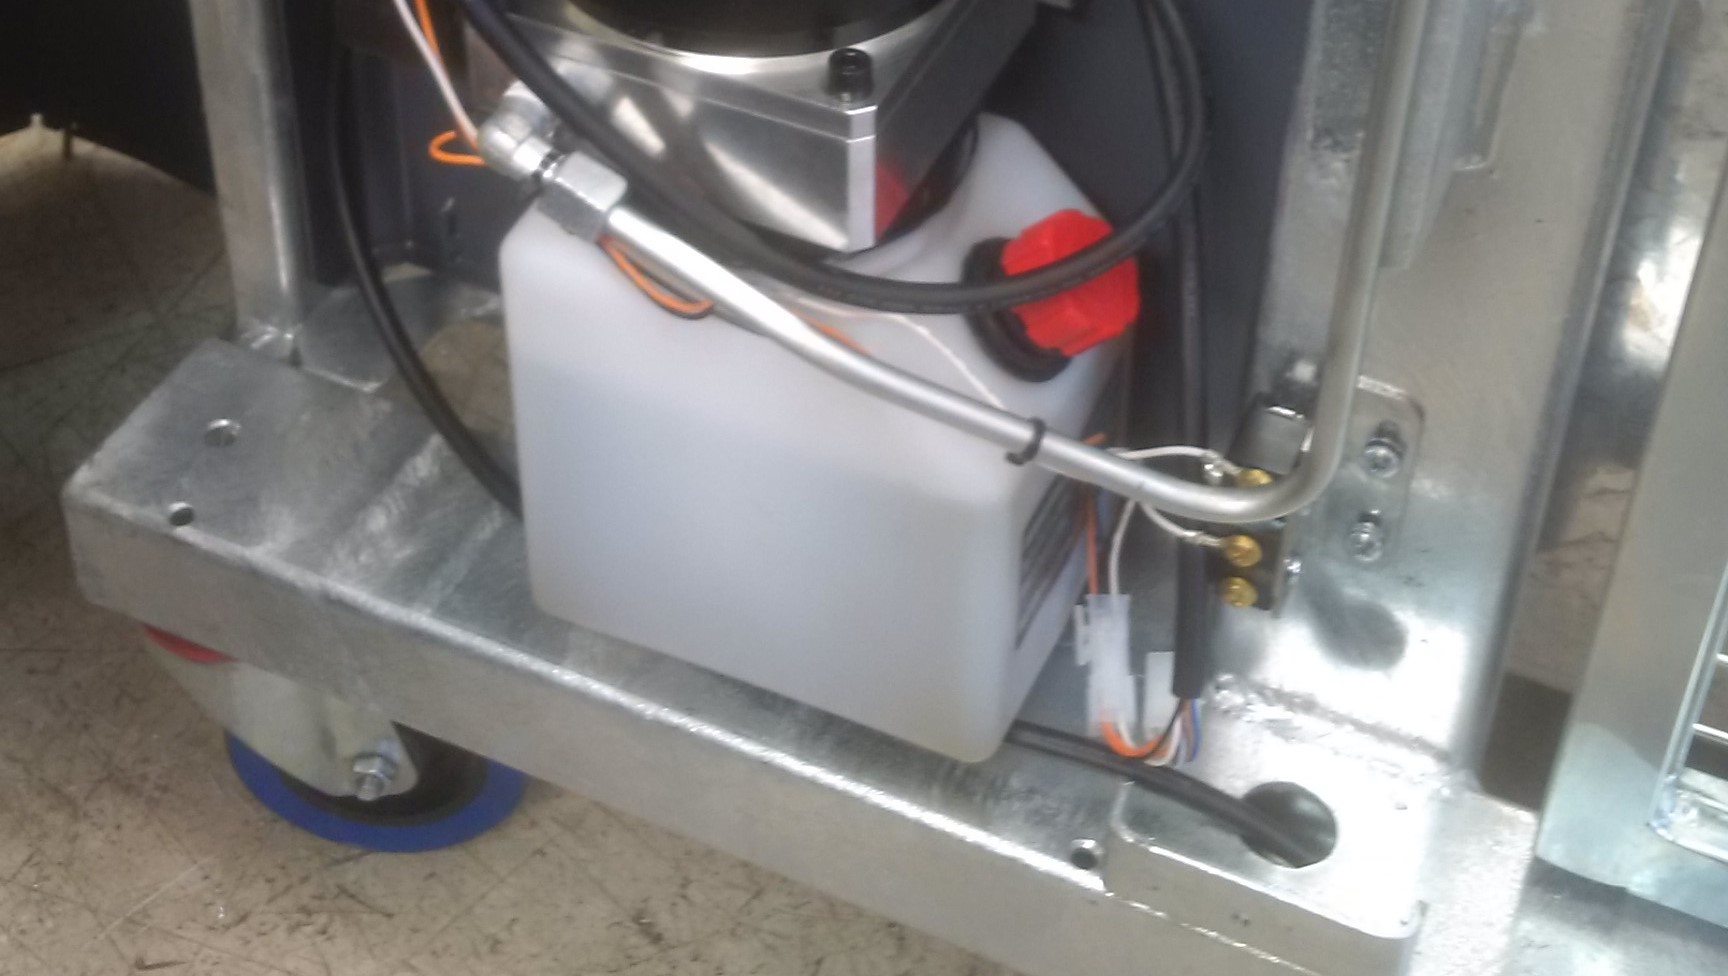
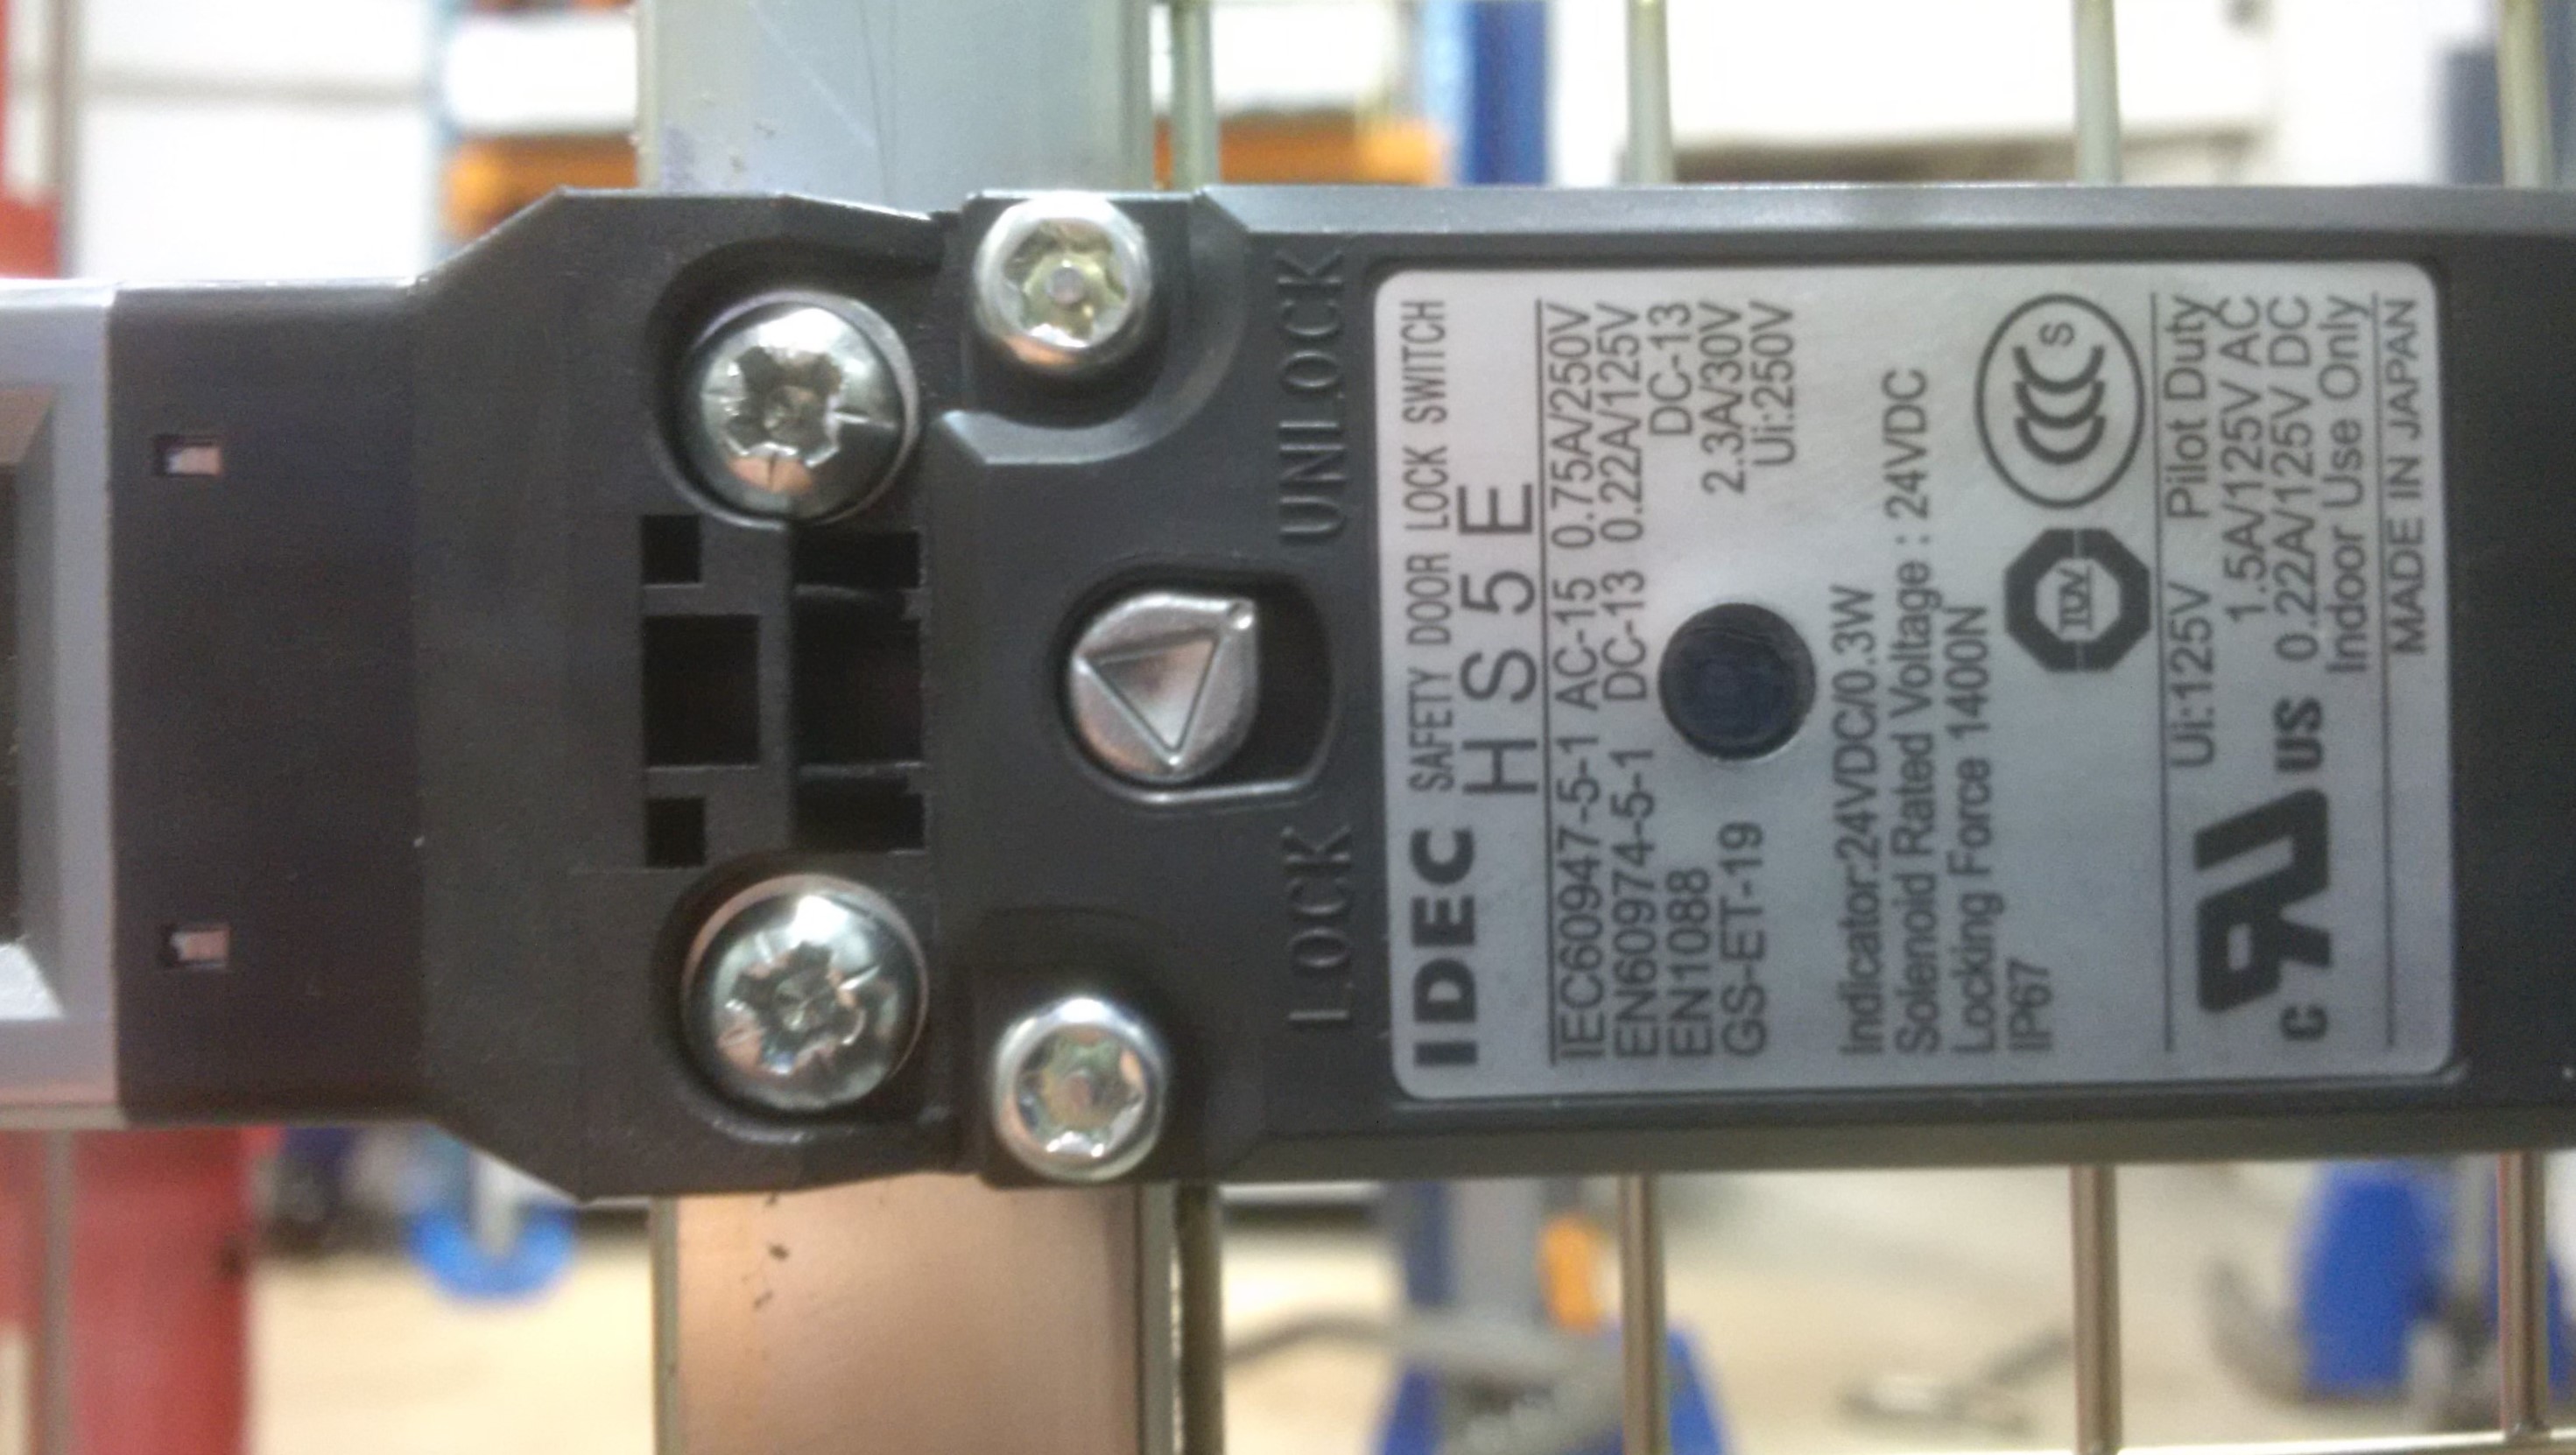
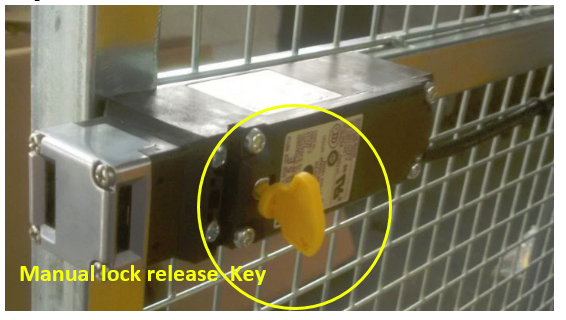
- The lock serves a dual purpose, it is both a "Switch" and a "Lock". By default, we ship the machines with the locking mechanism deactivated (in the UNLOCK position), this allows users to open the door at anytime. This is because the lock requires "power to release" and of course during shipping, while the machines are powered off, it is necessary to be able to open the door during packing and unpacking. This means that unless you activate the lock using the yellow manual override key, then the lock will only be functioning as a door switch. The below steps show how to activate the lock:
- The IDEC door lock has a triangle aperture for the manual over-ride key.
- Use the plastic override key to manually release the IDEC lock.
- The IDEC door lock has a triangle aperture for the manual over-ride key.
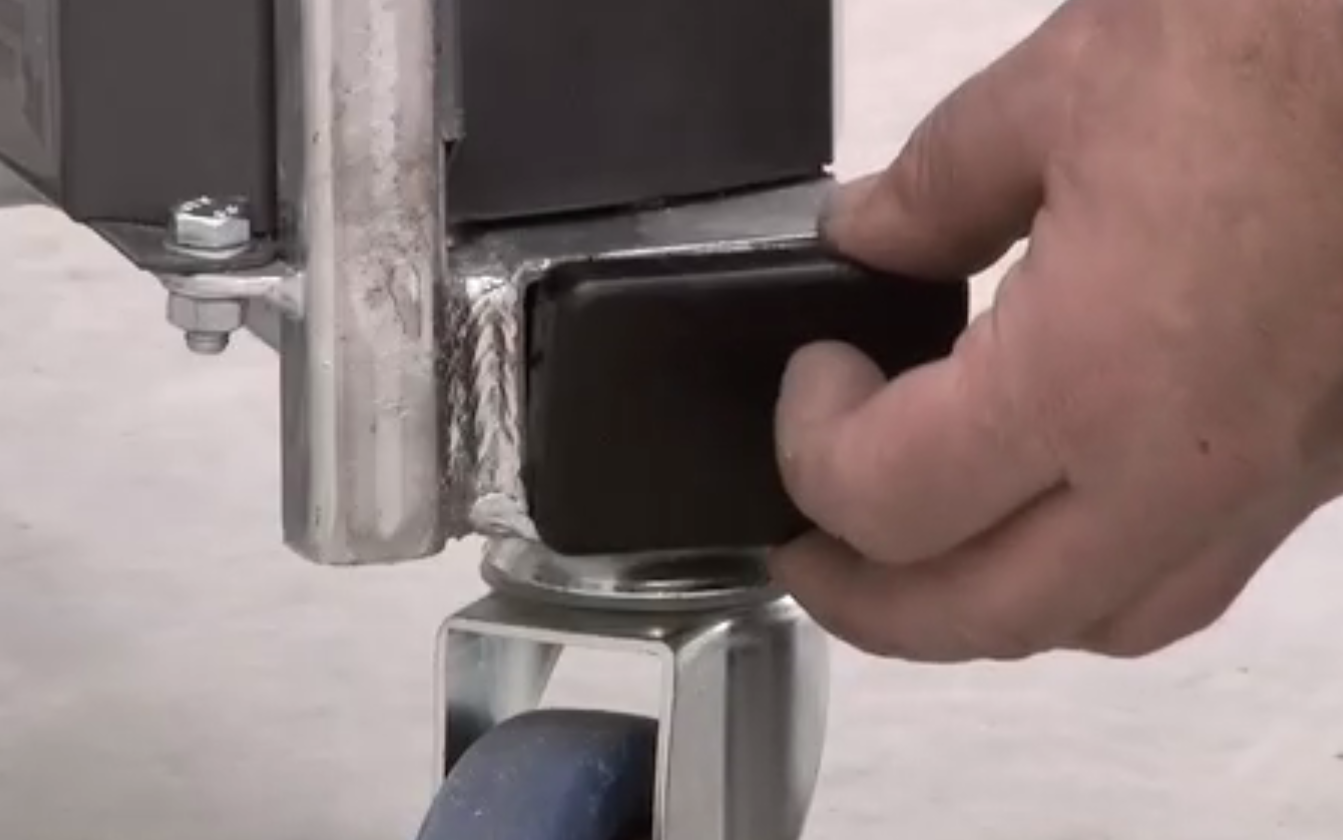
- Tap the remaining plastic end-caps into the Dumpmaster frame.
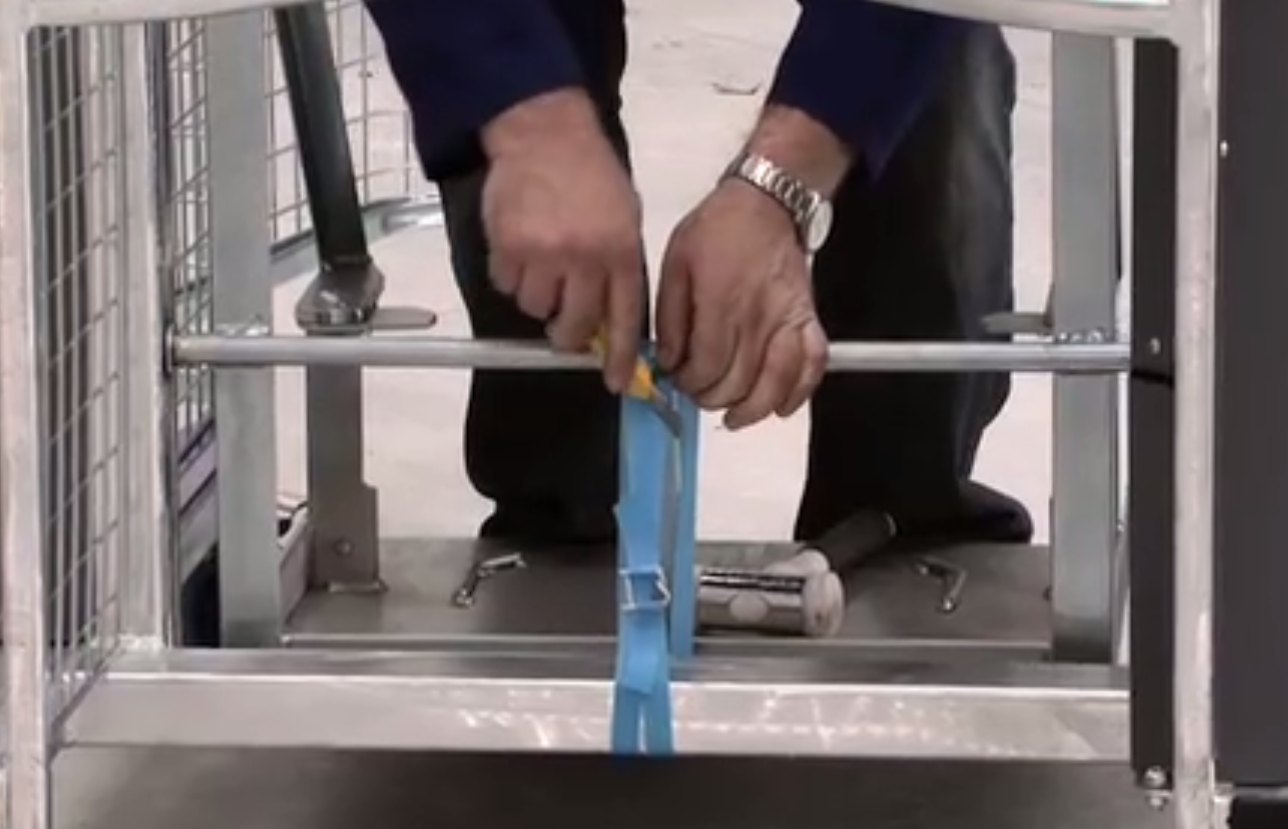
- Now the strap holding the cradle may be cut.
- Turn the Dumpmaster on and check that the cradle travels the full cycle without sticking or rubbing.
- Check the operation of all controls and operations including brakes, charger, safety button operation and key.
- The Dumpmaster is now fully operational and ready for use.
Ensure that all persons who are going to operate the machine have completed the User Training Questionnaire.
The pressure/weight capacity is factory set and should not be adjusted without prior consent from the manufacturer
The Dumpmaster does not need grease inside the mast or tip guide; a light silicone spray is sufficient.


